- Home
- ProductsBrowse collectionAll productsView all ↗
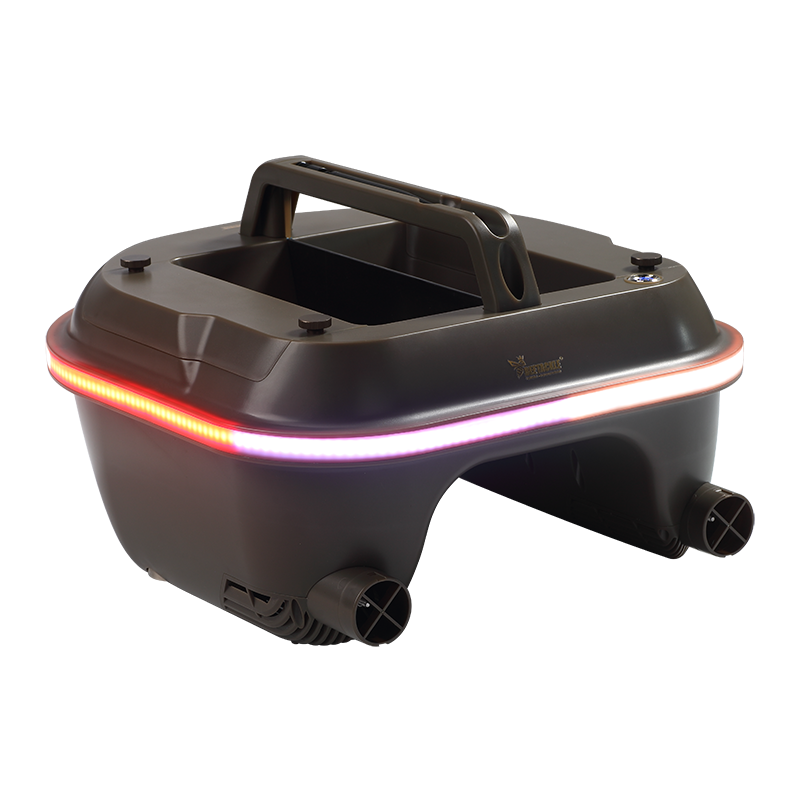 Bait BoatBait boat mini BT19↗
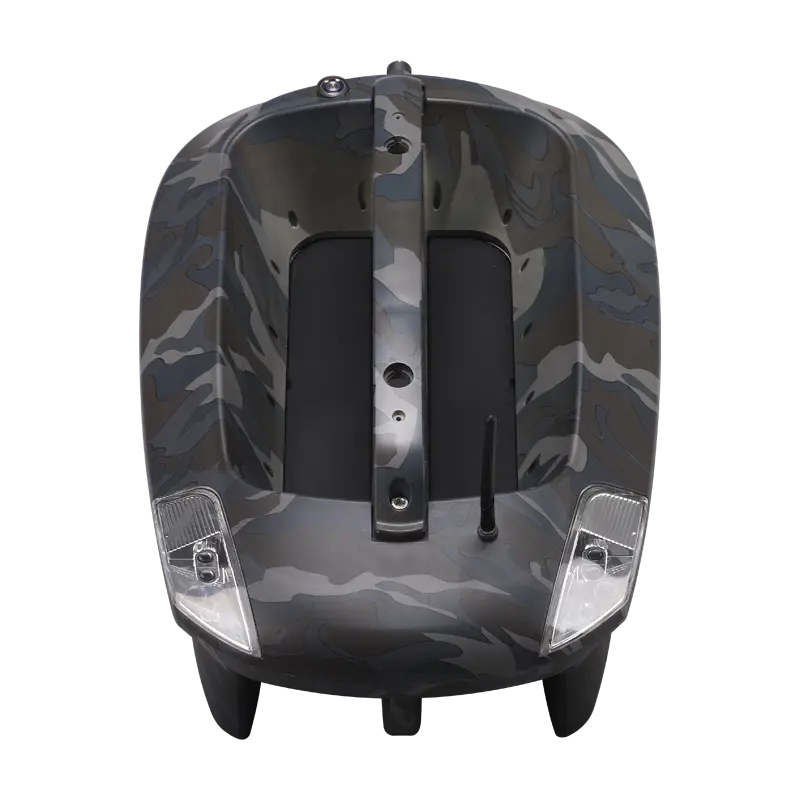 Bait BoatStandard Bait Boat (Urban camo)↗
 Bait BoatBait Boat BT2 (Camo)↗
 Bait BoatBait Boat BT3 (Green)↗
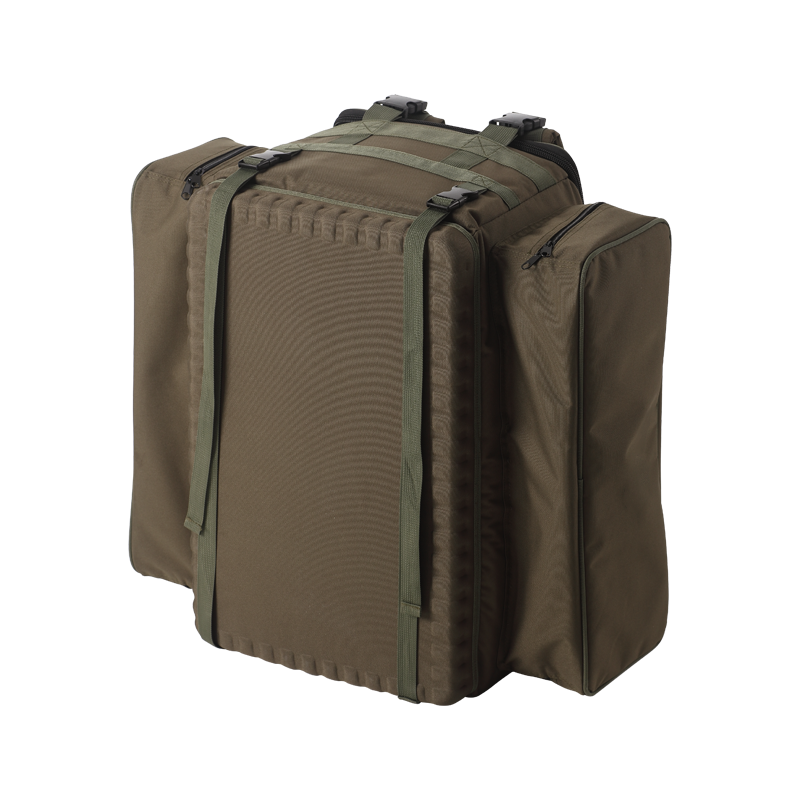 Bait BoatBaitboat Bag↗
 (1).png) Bait BoatIntegrated Sonar Bait Boat (BT8 Camo)↗
Bait BoatIntegrated Sonar Bait Boat (BT8 Camo)↗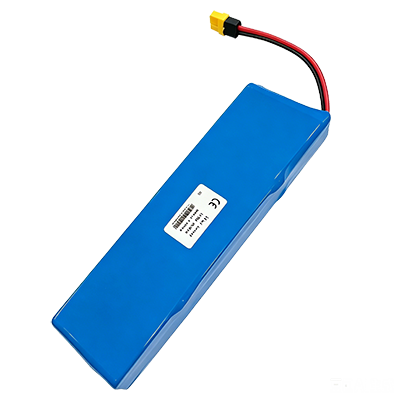 Bait Boat16 battery pack↗
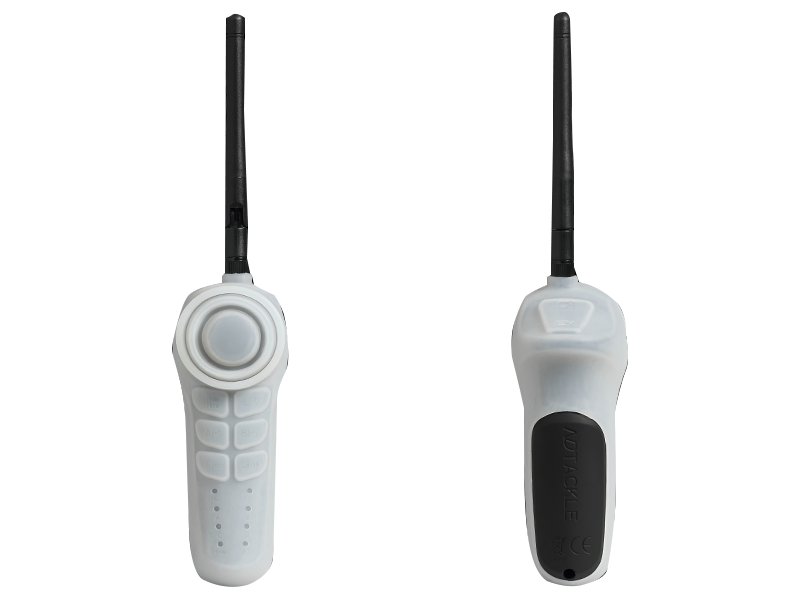 Bait BoatHandset case↗
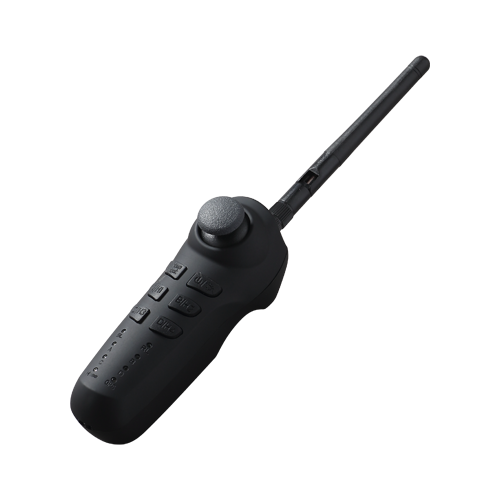 Bait BoatHandset V3↗
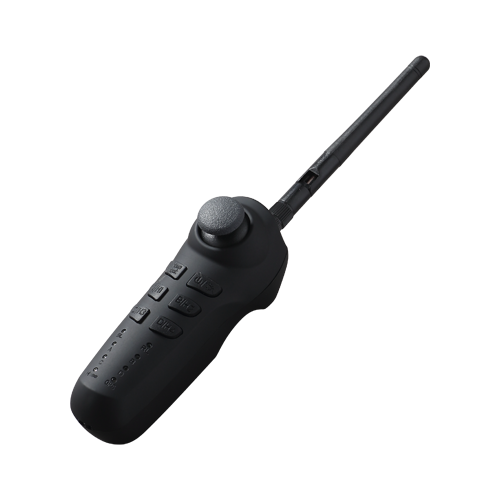 Bait BoatHandset V2↗
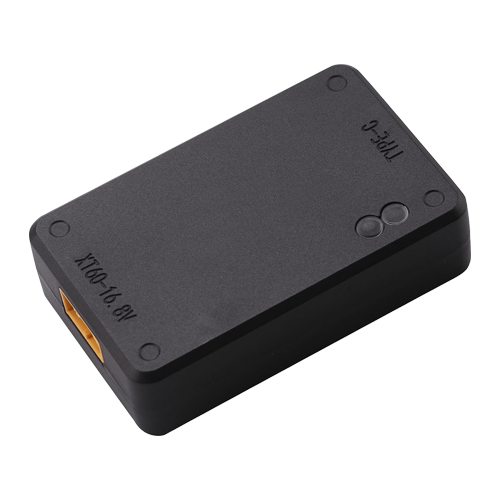 Bait BoatUSBCHARGER↗
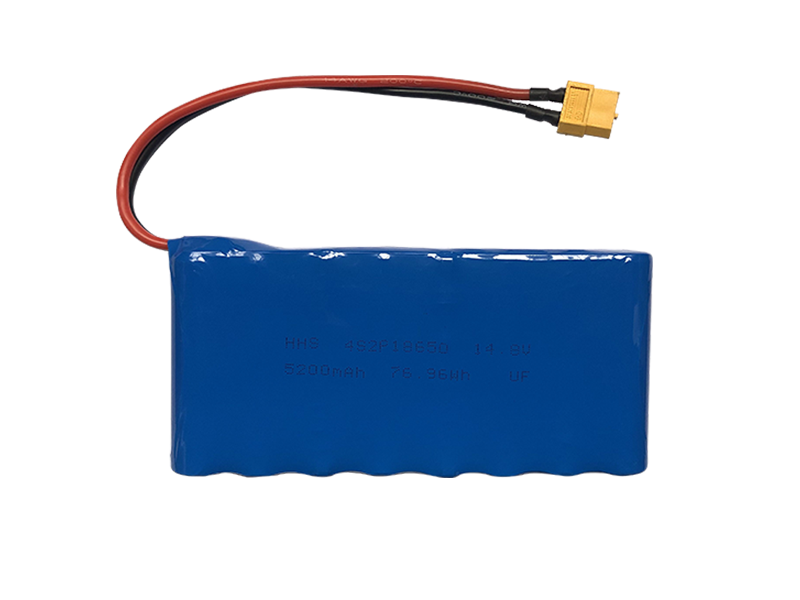 Bait Boat8 battery pack for boat2↗
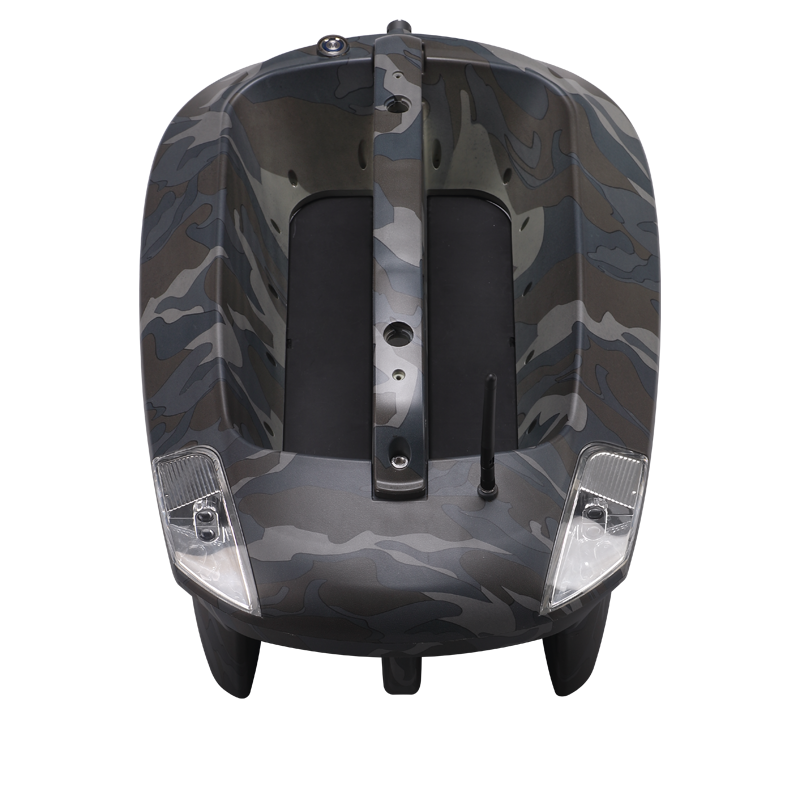 SonarIntegrated Sonar BaitBoat (BT7)↗
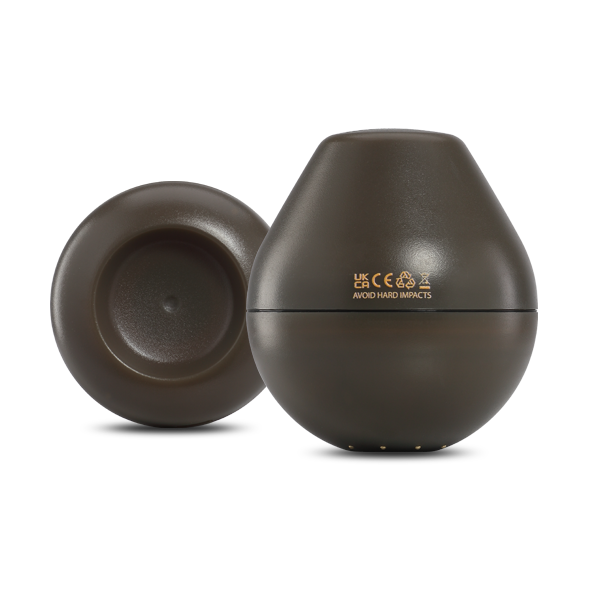 SonarCastable sonar (BT12)↗
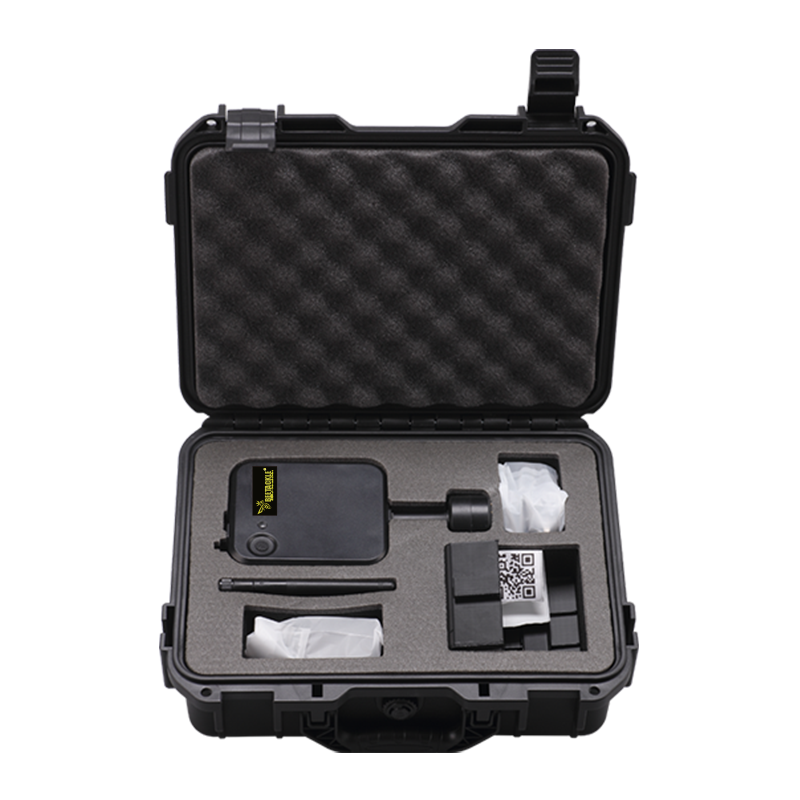 SonarMount sonar (BT5)↗
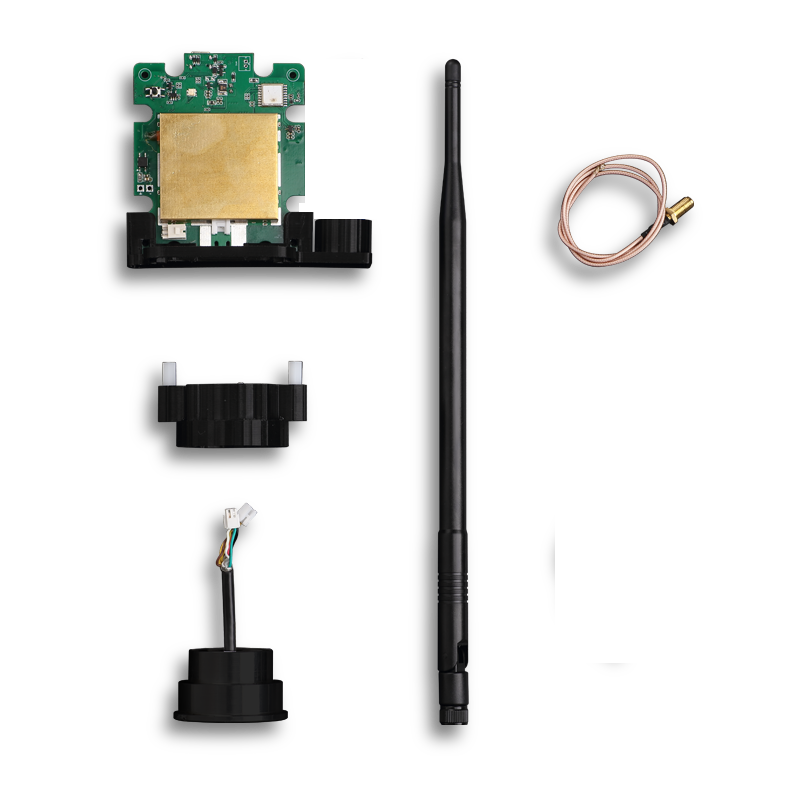 SonarBuild-in Sonar kit (BT6)↗
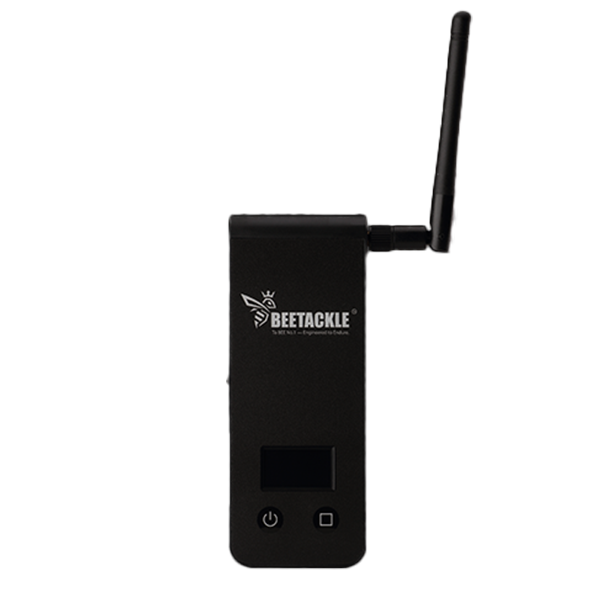 SonarWiFi extender (BT4)↗
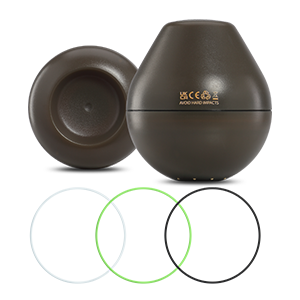 SonarCastable Sonar Colour Ring↗
 SonarPhone & controller holder (BT10)↗
 SonarPad & controller tri-stand (BT11)↗
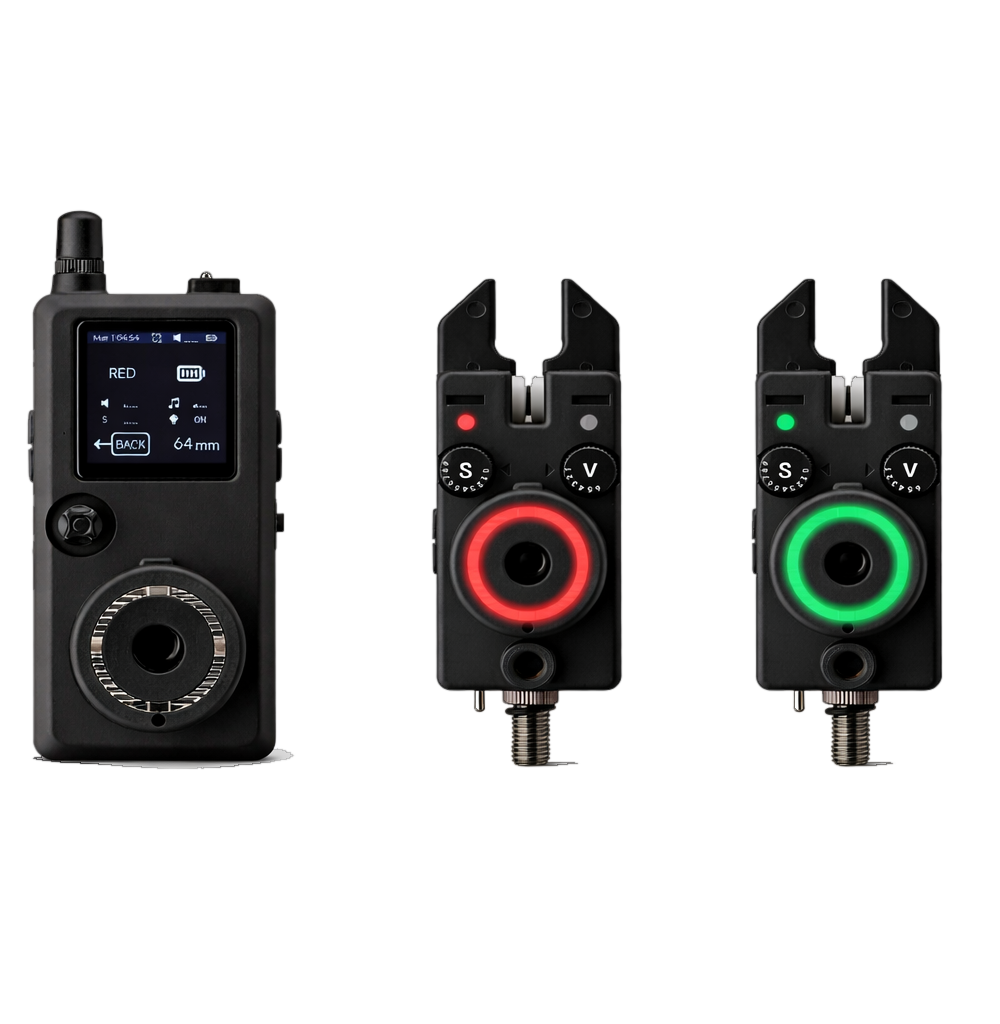 Bite AlarmK15/R15 Bite alarm set↗
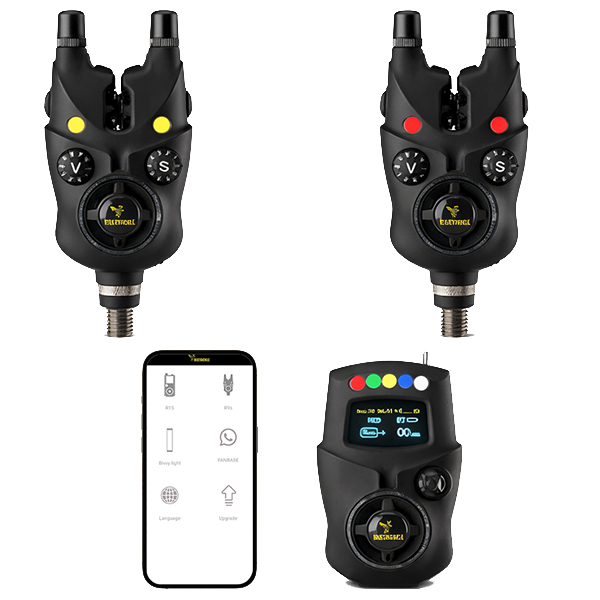 Bite AlarmNK9S Bite alarm↗
 Bite AlarmNS9pro Bite alarm↗
 Bite AlarmSmart Bivvy Light Ultra K16↗
 Bite AlarmAnti-theft alarm NTH9S↗
 Bite AlarmRechargeable battery pack for NK9S bite alarm↗
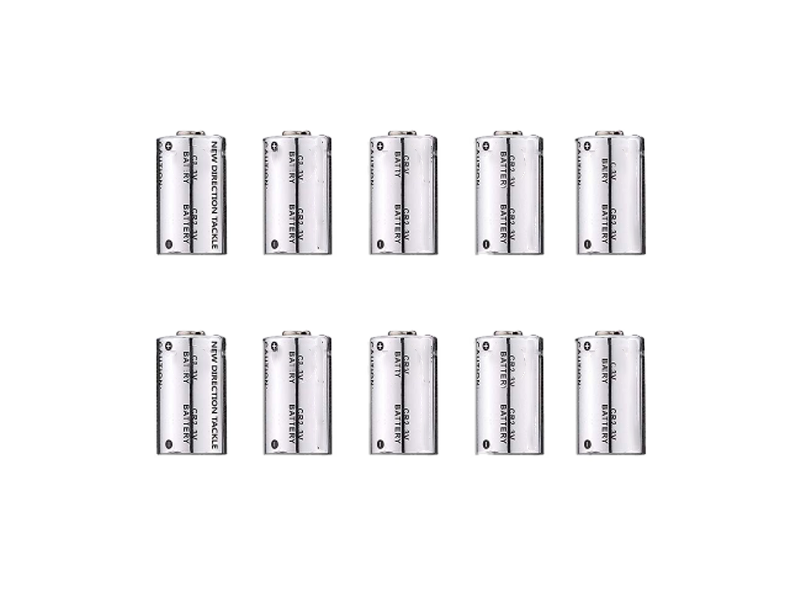 Bite AlarmCR2 * 10 for NK9S/NR9S/NTH9S↗
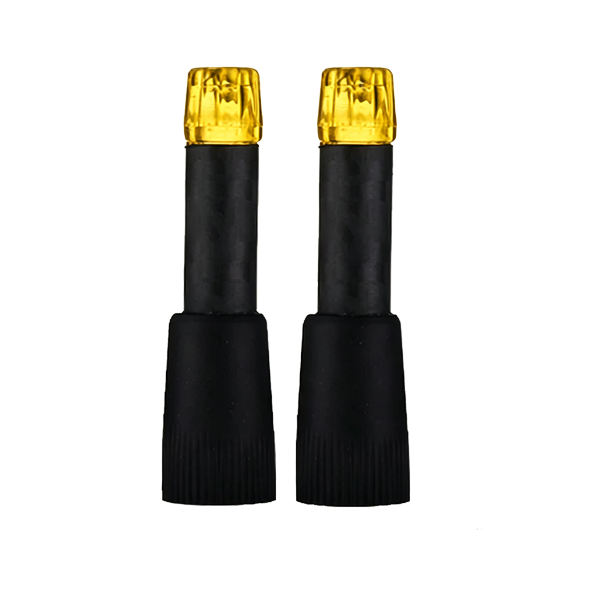 Bite AlarmYellow snagear↗
 Bite IndicatorT9 - Chain Bobbin↗
 Bite IndicatorT8 - Arm Swinger↗
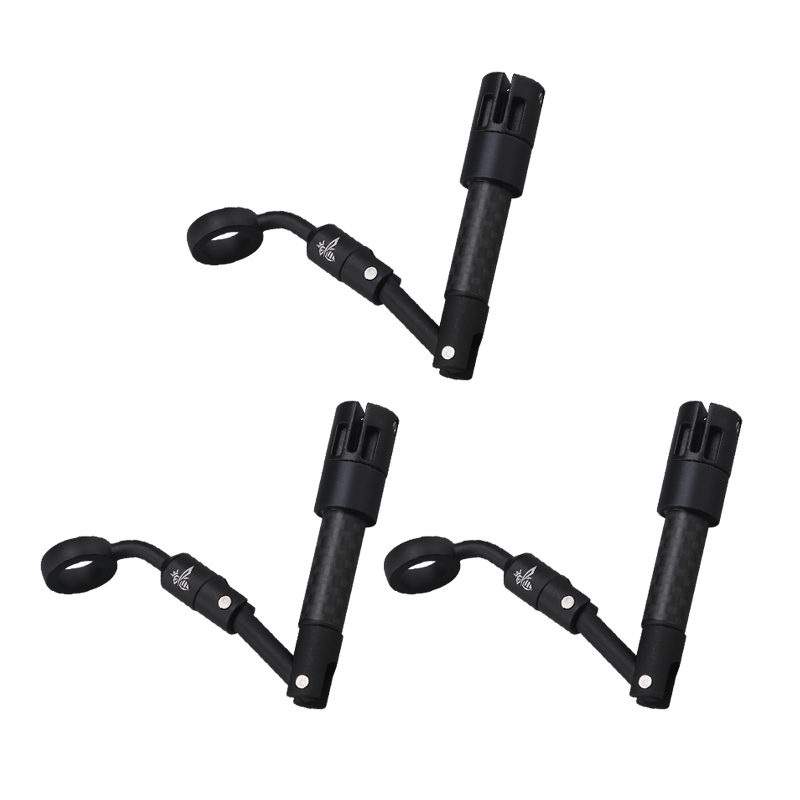 Bite IndicatorT7 - Spring Swinger↗
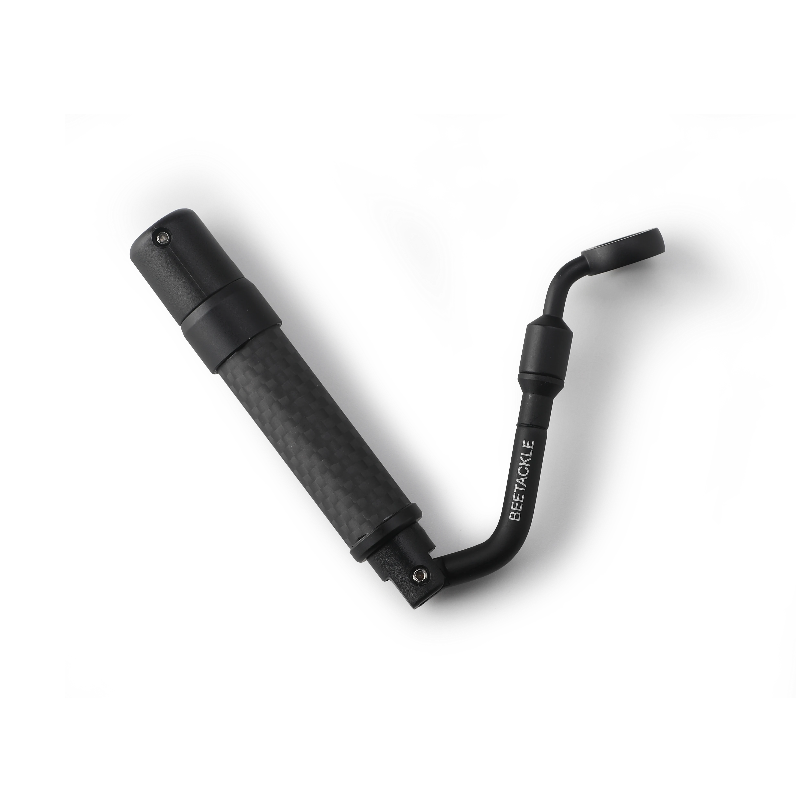 Bite IndicatorT7 Plus↗
 Bite IndicatorT6 - Illuminated indicator↗
 Rod PodP8mini↗
 Rod PodGo Pod P30 - 3 Rod↗
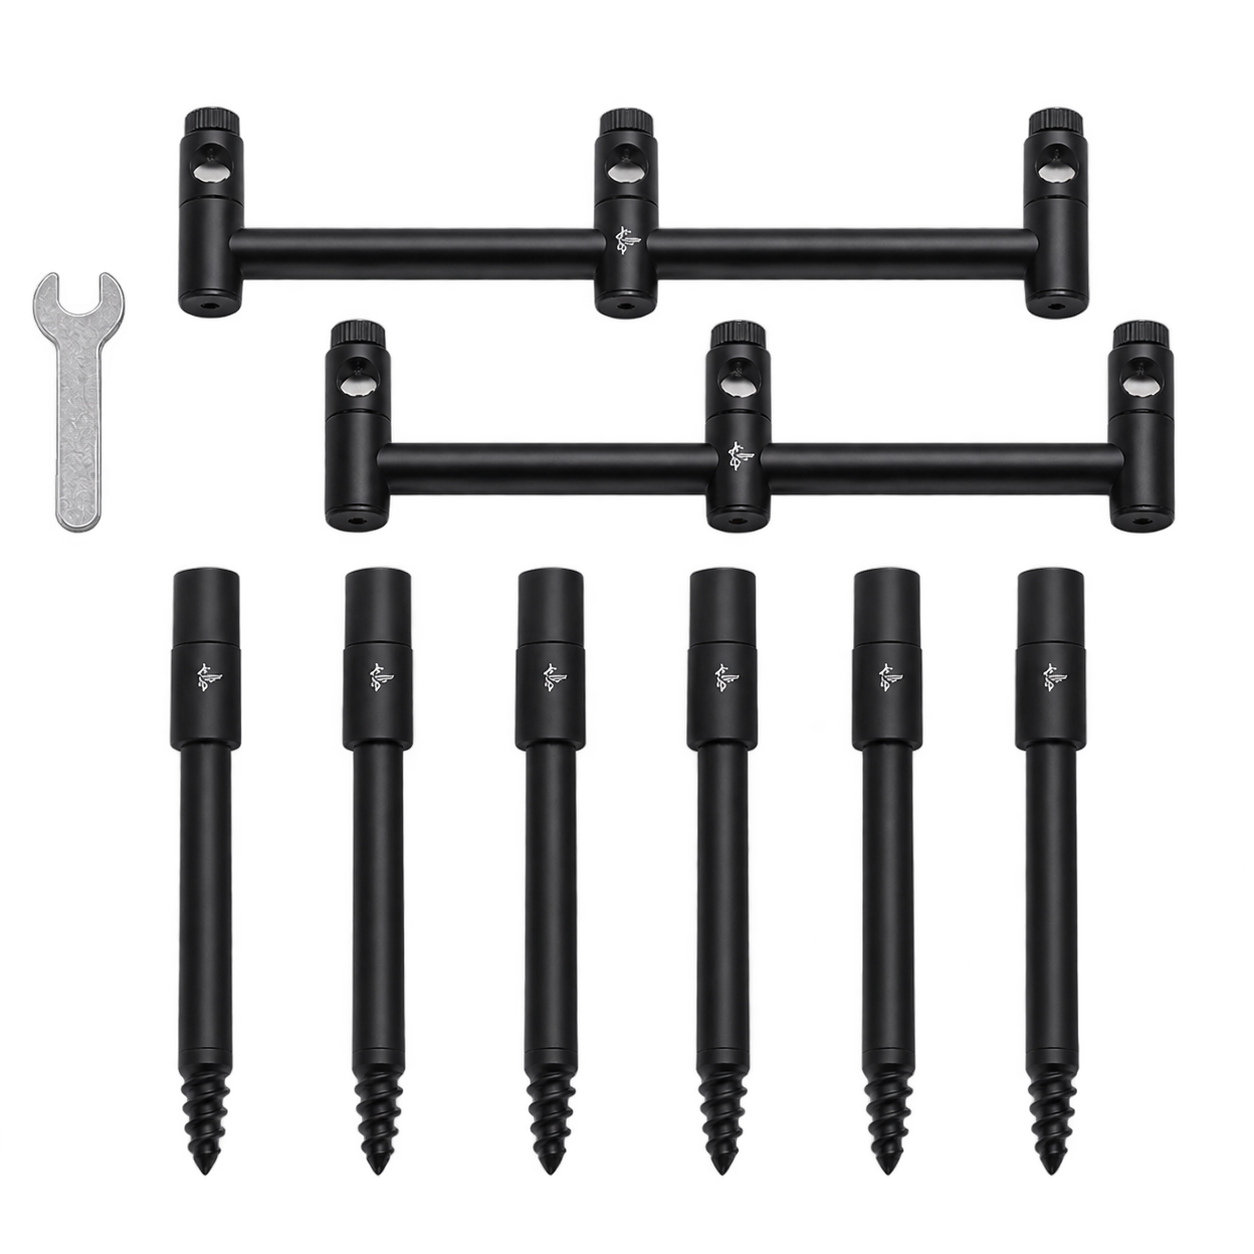
 Rod PodSnag bars↗
 Bank LifeHoodie and Cap Set↗
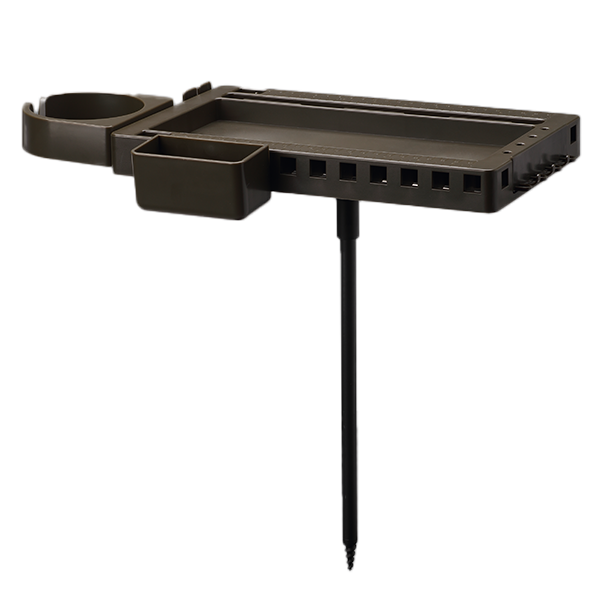 Bank LifeBankstick & Bedchair Organiser↗
 Bank LifeSmart Mug↗
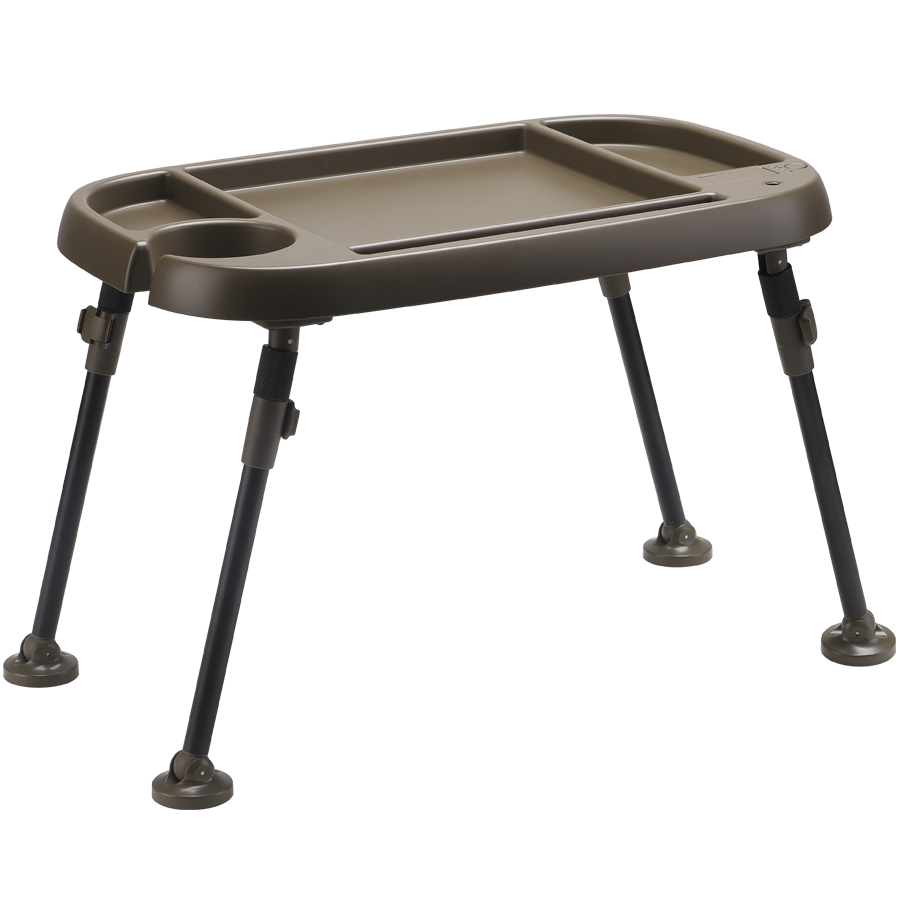 Bank LifeBivvy Table - NV9↗
.png) Bank LifePower bank - V9bp↗
Bank LifePower bank - V9bp↗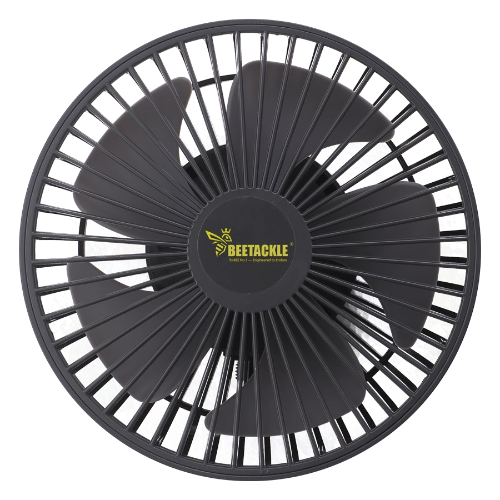 Bank LifeBivvy fan↗
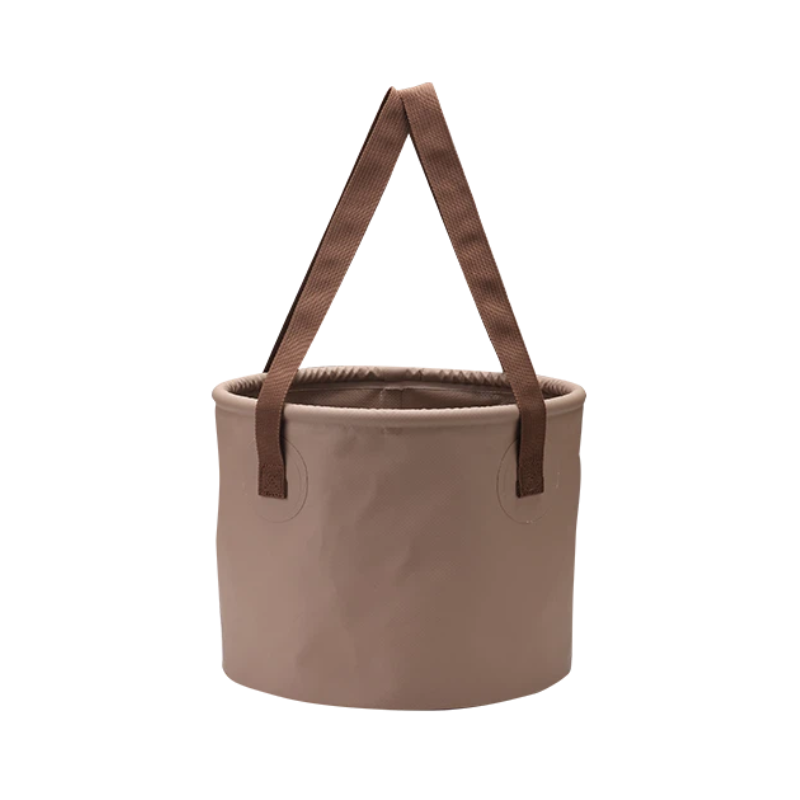 Bank LifePVC Bucket↗
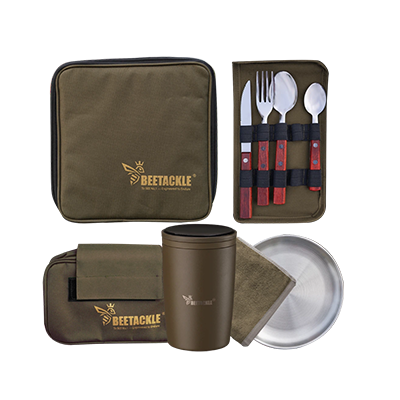 Bank LifeBank Life Kit↗
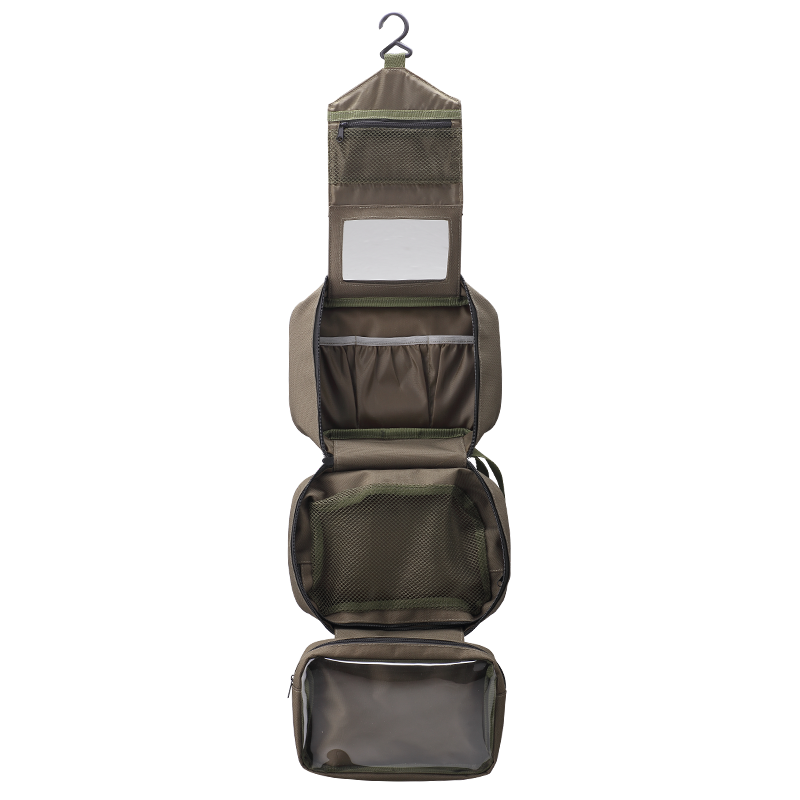 Bank LifeBank Wash Bag↗
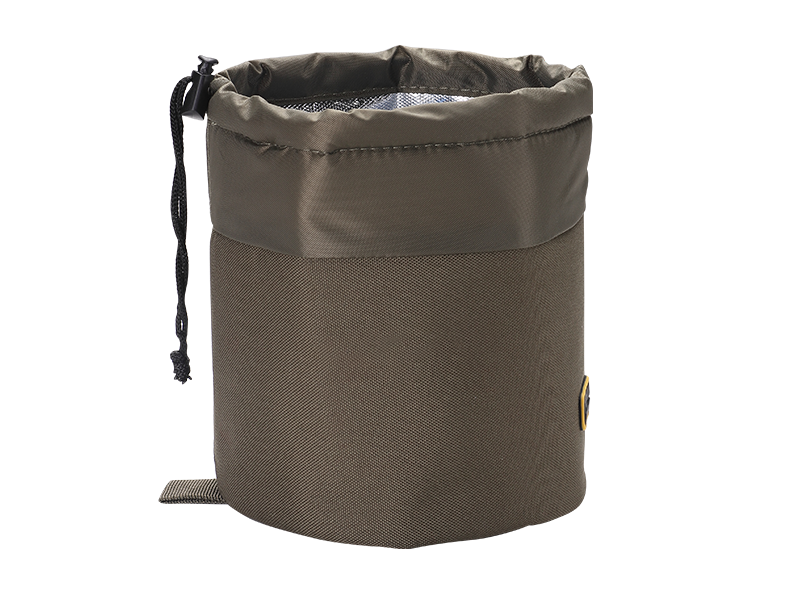 Bank LifeHeated Gas Canister cover↗
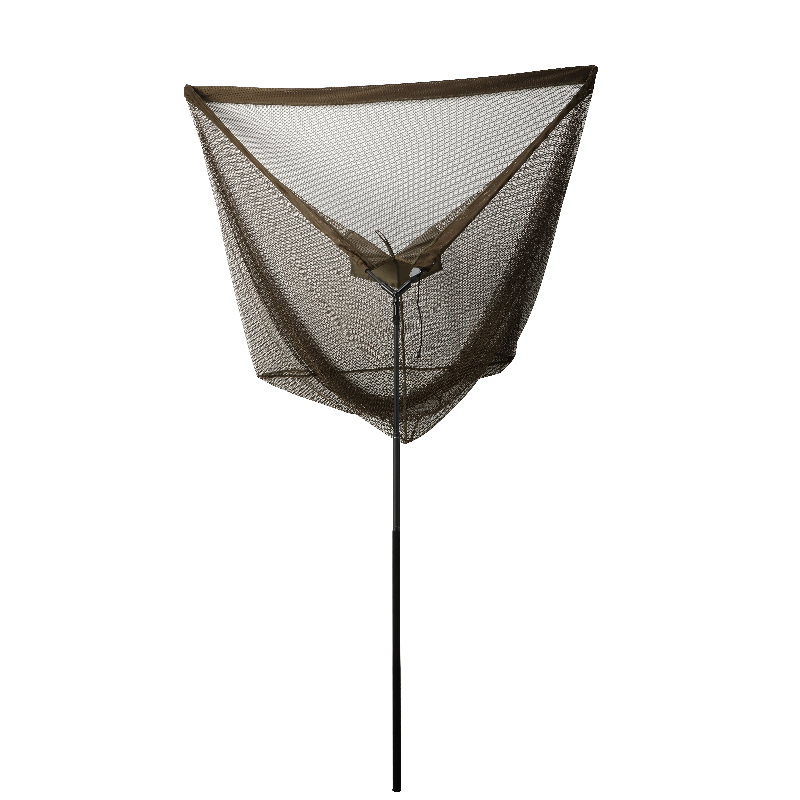 Bank LifeLanding Net 1↗
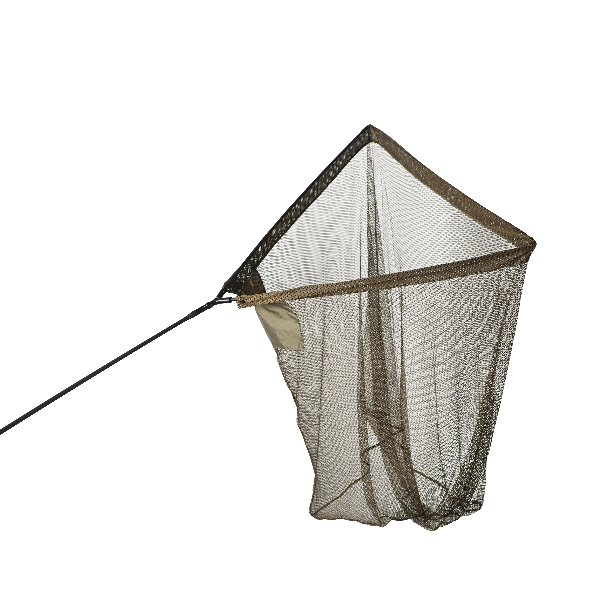 Bank LifeLanding Net 2↗
.png) Bank LifeWater pump↗
Bank LifeWater pump↗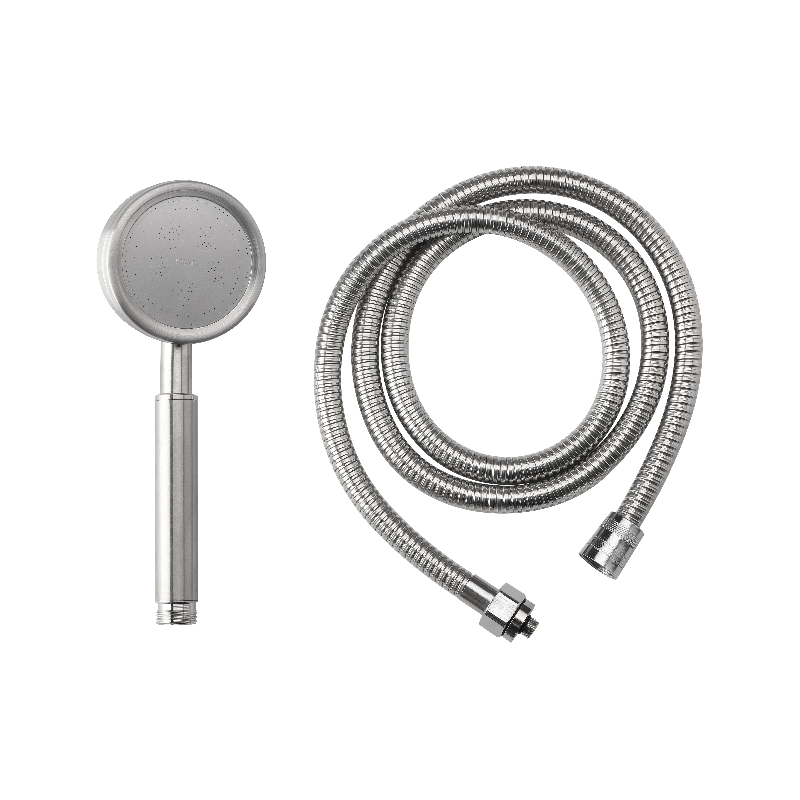 Bank LifeShower for Water Pump↗
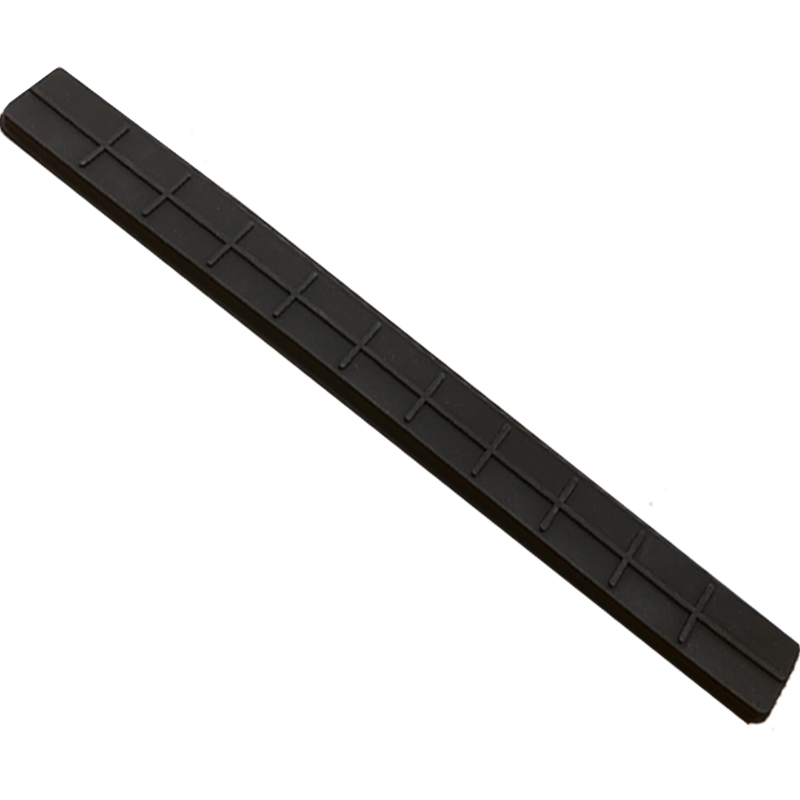 Accessories2 * rubber cover for boat↗
 Accessories2 Hopper weights↗
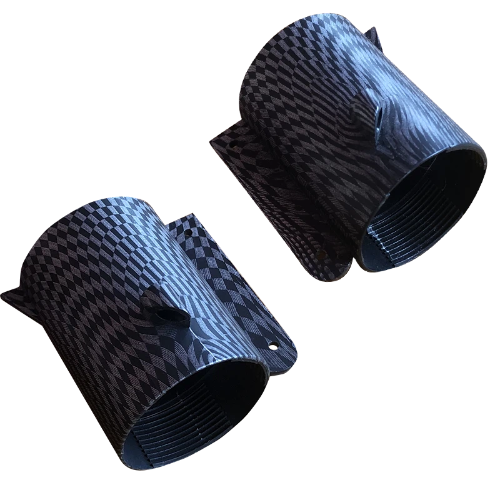 Accessoriesleft motor housing for boat2↗
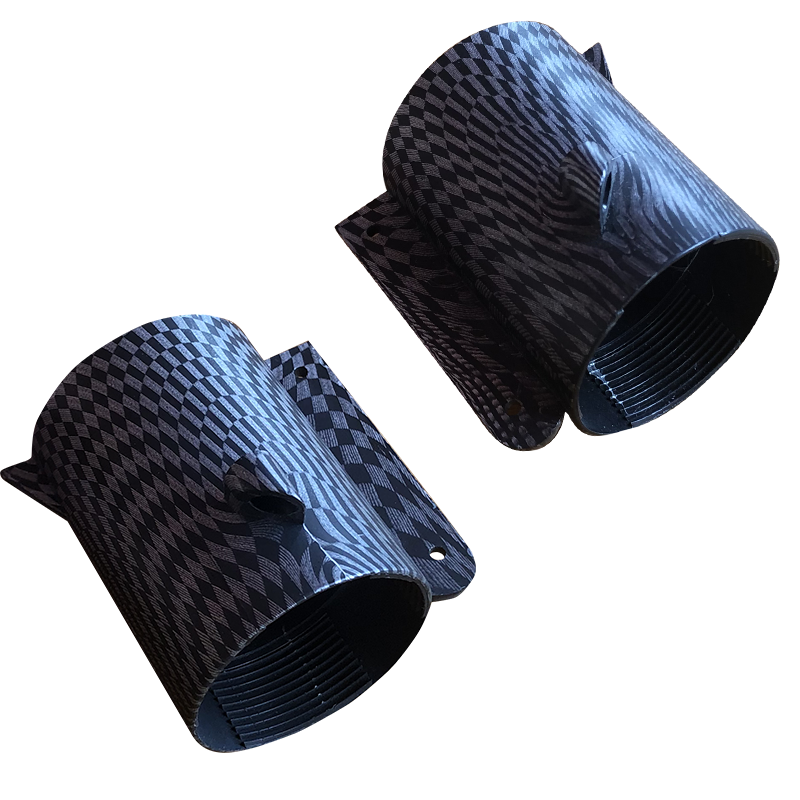 Accessoriesright motor housing for boat↗
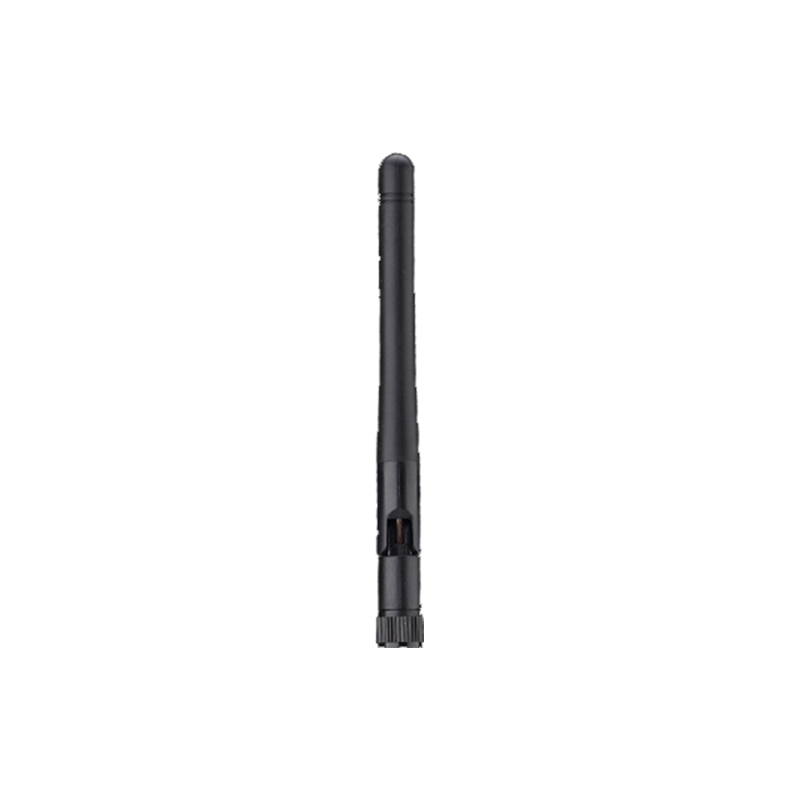 Accessoriesantenna for boat↗
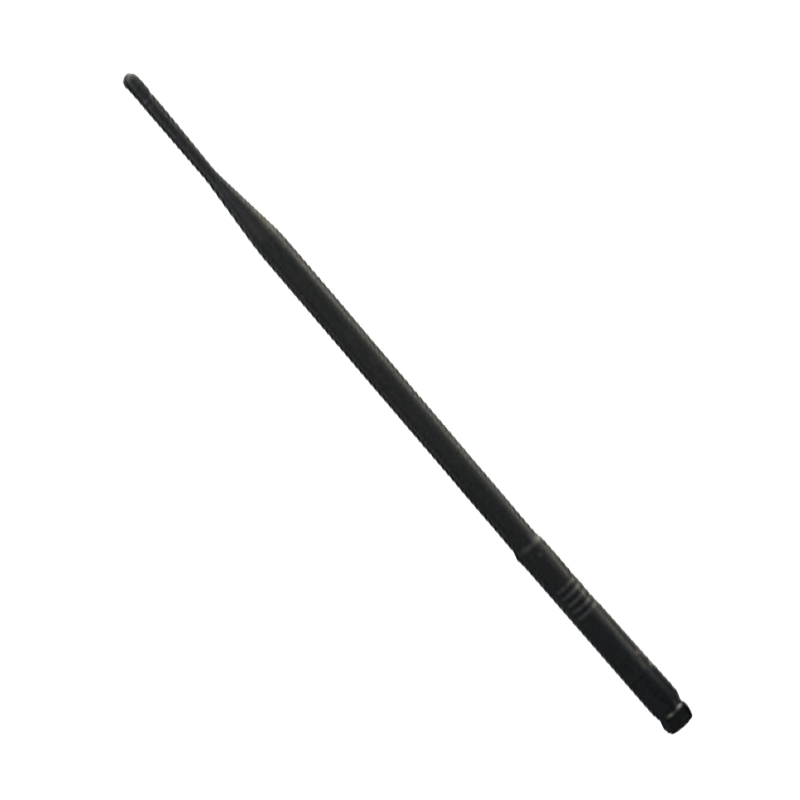 AccessoriesSonar Antenne↗
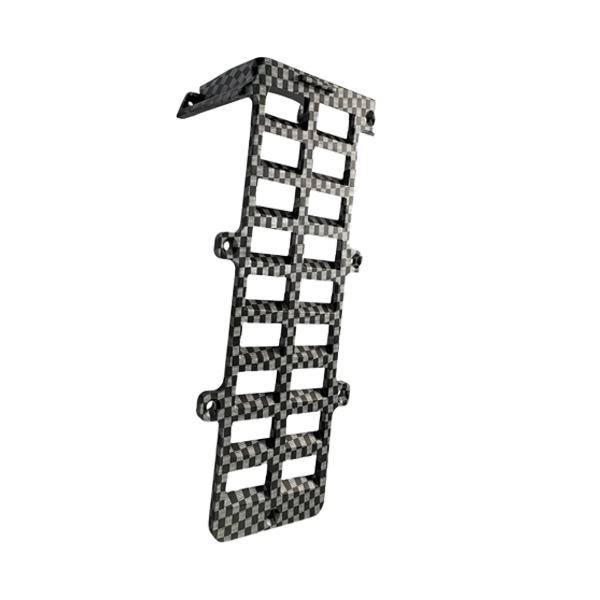 AccessoriesLeft right weed guard↗
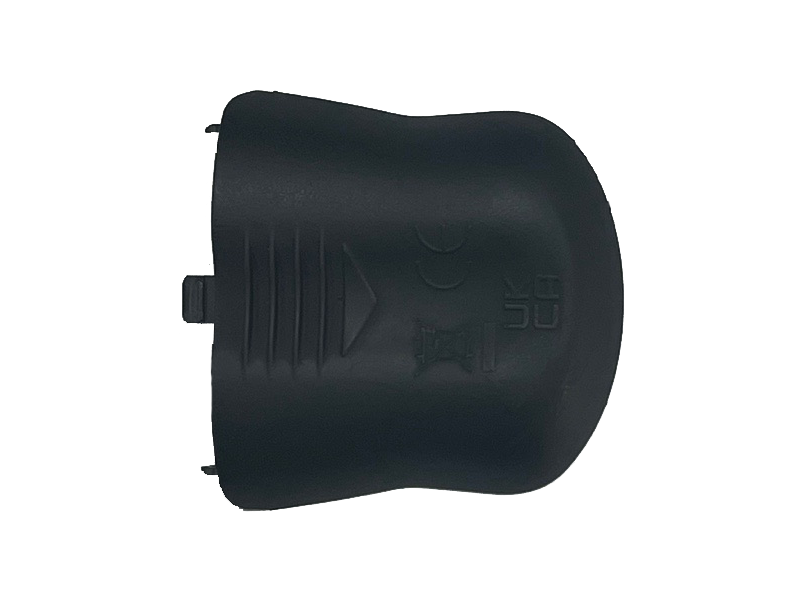 Accessories2 back cover for K9s↗
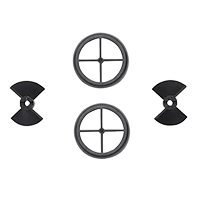 AccessoriesSpeed kit↗
 AccessoriesVS knobs for K9s↗
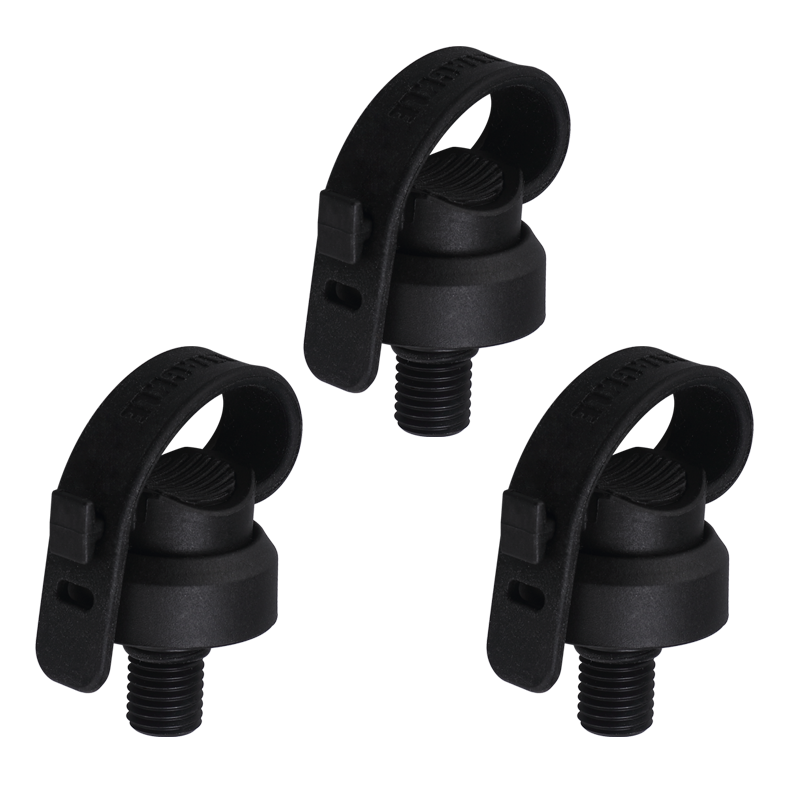
 Accessories2Rubber band for P8↗
 - Products
- Timeline
- Support
- About us
- Login
Pro App User Manual
Google play: https://play.google.com/store/apps/details?id=com.beetackle.app
Apple store: https://apps.apple.com/us/app/fish-finder-pro/id6773585167
Use this manual to connect your equipment, manage fishing spots, operate supported boat controls and work with sonar data. Choose the chapter for the task you want to complete.
Available controls depend on your connected device and its firmware. Before operating a boat, check the selected device, destination and actual surroundings. Confirm actions using device feedback and the boat itself.
⠀
1. Getting started and windows
⠀
1.1 Get to know the main screen
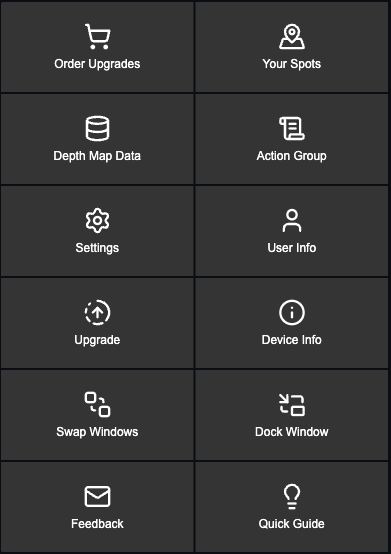
Main menu. Tap the Logo to open this menu. Use Your Spots, Depth Map Data and Action Group to open the corresponding pages. Example screen; shown settings are illustrative.
Main menu icons — reference icons from Pro App. Colours and availability may change with device state.
Before you start: Open Pro App. Connect a compatible device before using live sonar or boat controls.
- Identify the map and sonar windows. Use the map to view locations, spots and routes, and the sonar window to view echoes and readings.
- Tap the Logo to open the menu. This gives access to window controls, Your Spots, Action Group, Depth Map Data and other functions.
- Use the Bluetooth or Wi-Fi connection icon for your device. Open Quick Guide when you want an on-screen introduction to a feature.
Check the result: You can locate the map, sonar, connection controls and main menu.
Note: Some Quick Guides explain controls; others include practice steps. Completing a guide does not confirm that a device has connected, a command has run or data has been saved.
⠀
1.2 Switch map and sonar windows
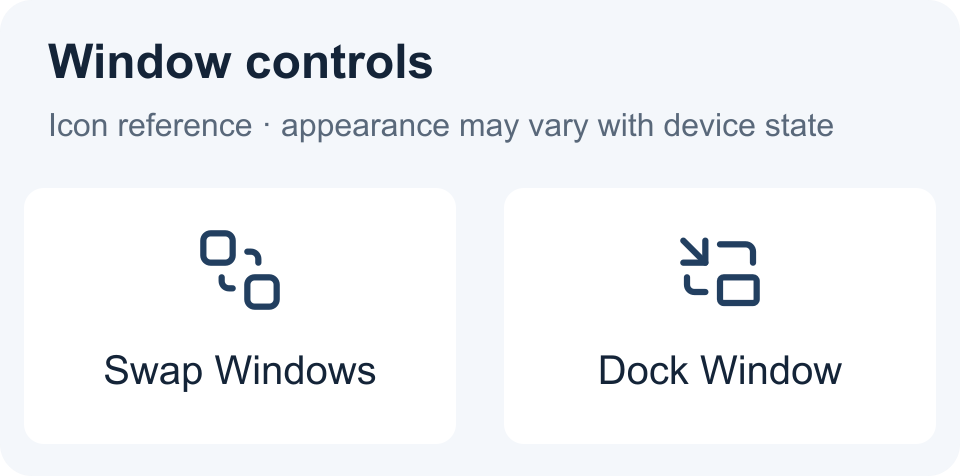
Window controls — reference icons from Pro App. Colours and availability may change with device state.
- Tap the Logo and choose Swap Windows.
- Alternatively, use the swap button in the map toolbar.
- Check the new arrangement and keep the view you need in the main window.
Check the result: The map and sonar exchange their main and secondary positions.
⠀
1.3 Move, resize, dock and restore a window
- Hold the top bar of the floating window, drag it to a suitable position and release.
- Drag the bottom-right resize handle to change its size.
- Open the Logo menu and choose Dock Window to minimise it to a thumbnail at the side.
- Tap the thumbnail to restore the window.
Check the result: The floating window is positioned, sized or docked as required.
Note: The floating-window Quick Guide restores your previous layout when the practice ends.
⠀
2. Device connection and maintenance
Connection icons — reference icons from Pro App. Colours and availability may change with device state.
⠀
2.1 Connect a V1/V2/V3/V4 boat by Bluetooth
Before you start: Switch on the device and check Bluetooth and the permissions requested by the app on your phone.
- Tap the Bluetooth connection icon on the main screen.
- Start a search and wait for devices to appear. Tapping the search control again stops the search.
- Select the device you want to connect to.
- Tap the connection button, follow any displayed prompts and wait for the connection result.
Check the result: The app shows the selected device as connected and its device information becomes available.
Note: If the list is empty, check power and permissions before searching again. When a device is already connected and no new device is selected, the connection button may disconnect it; check its current label before tapping.
⠀
2.2 Connect a sonar or Boat Mini by Wi-Fi
Before you start: Switch on the sonar or Boat Mini and allow the permissions needed for the connection when prompted.
- Tap the Wi-Fi connection icon on the main screen.
- Start a search and wait for the device list to update.
- Select the intended sonar or Boat Mini and tap the connection button.
- Follow the app and phone prompts, then wait for the device information to update.
Check the result: The app shows the intended device as connected. For live sonar, also check that the sensor is in the water and valid data is arriving.
Note: Finding a device does not mean it is connected. If no device appears, check its power, permissions and connection state, then try again.
⠀
2.3 Upgrade firmware and reconnect
Before you start: Read the model-specific instructions on the Upgrade page. Keep the device nearby and fit antennas as instructed for that model.
- Open Upgrade from the app menu and wait for scanning, or scan again using the page controls.
- Select the correct device group and check its hardware and software versions.
- Complete the connection or PIN verification requested for that device. Not every model requires a PIN.
- If an upgrade is available, start it using the displayed upgrade control. Keep the device powered and nearby throughout the process.
- Wait for the completion message, then restart or reconnect as instructed and check the version in Device Info.
Check the result: The upgrade reports completion and the device version can be read after reconnecting.
Note: A no-upgrade-needed result refers to the matching firmware supplied with the current app. An empty scan, a failed scan or an unknown version does not establish that the device is up to date.
⠀
2.4 Reset the Wi-Fi extender
Before you start: Only continue if you intend to restore the extender to its factory settings. Use the buttons on the extender.
- Press and hold Power ON/OFF to switch on the Wi-Fi extender.
- Press and hold Scan to enter the scanning screen.
- Double-press Power ON/OFF to restore factory settings.
Check the result: Check the extender itself for the reset outcome, then configure or connect it again as needed.
Note: This operation restores factory settings. Closing an instruction page does not confirm that the hardware reset has completed.
⠀
3. Maps and spots
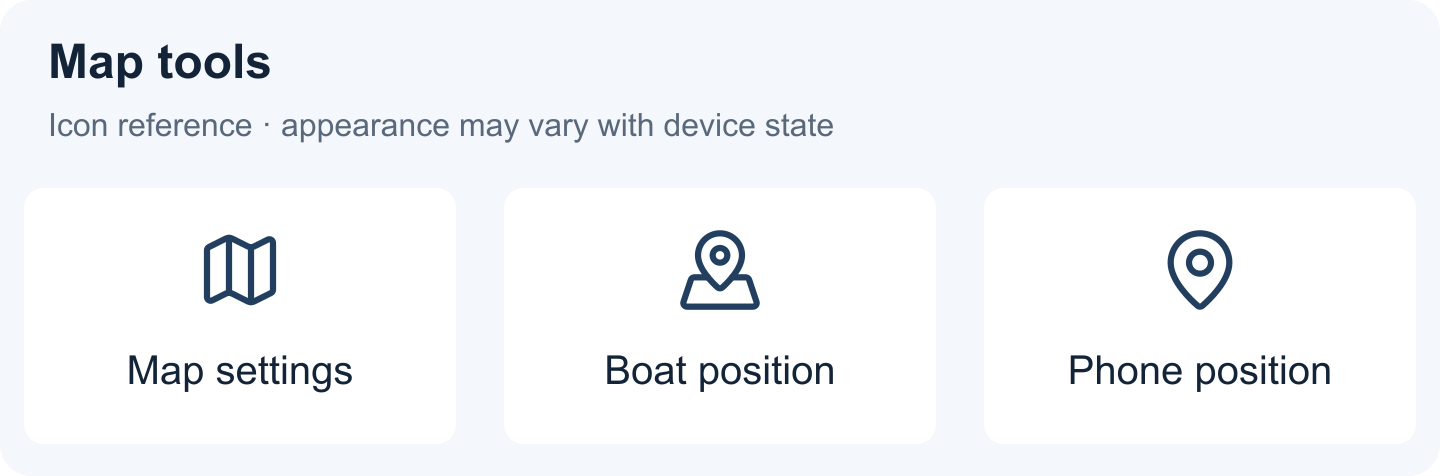
Map tools — reference icons from Pro App. Colours and availability may change with device state.
⠀
3.1 Download an offline map
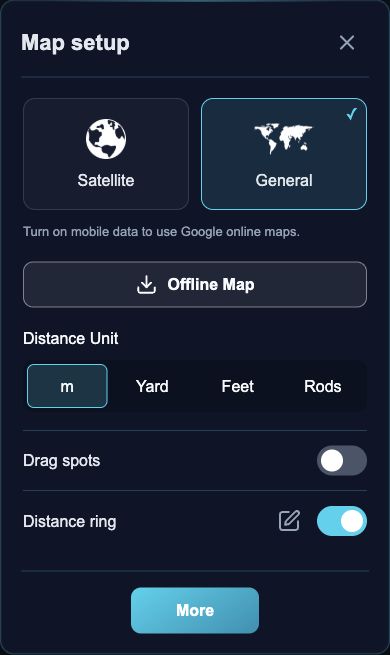
Map setup. The Offline Map button opens the download selection. This panel also contains distance units and the Drag spots switch. Example screen; shown settings are illustrative.
Before you start: Use a working internet connection and ensure your phone has enough free storage.
- Open map settings and select the offline map download option.
- Move and zoom the map so the required area is inside the download frame. Areas outside the frame are excluded from this selection.
- Check the selected area and start the download.
- Watch the progress and wait for completion. You can cancel the selection before starting the download.
Check the result: The download finishes as indicated on the page.
Note: Larger areas need more time and storage. Download the required area before your trip.
⠀
3.2 Select and mark a spot
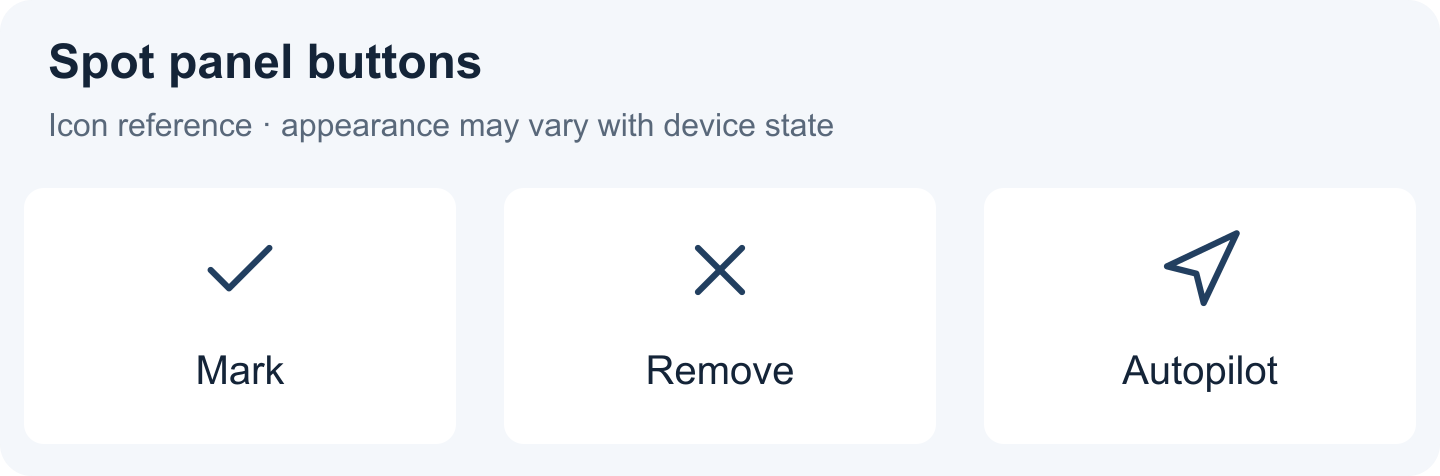
Spot panel buttons — reference icons from Pro App. Colours and availability may change with device state.
- Press and hold a blank location on the map to open the spot panel, or tap an existing lettered spot.
- Check the H or lettered slot and select the slot you intend to use.
- To store the selected map position in that slot, use the mark control.
- To remove a spot, check the selected letter and location before using the remove control.
Check the result: Check the lettered spot and its stored position on the map.
Note: A long press only opens the panel; it does not save a position. The autopilot control navigates to the coordinates already stored in the selected slot. Read the boat-control instructions before using it.
⠀
3.3 Save and name a spot group
Before you start: Check the spots currently displayed on the map.
- Tap the Logo, open Your Spots and select the save option in the spot-management window.
- Enter a recognisable name, such as the lake name and date.
- Check the name and current spots, then confirm the save.
Check the result: Find the saved group in the list and check its name and spots.
Note: The save operation uses the current spot group. Check that you are viewing the group you want to keep.
⠀
3.4 Browse and load My Spots
Before you start: Have at least one saved or imported spot group.
- Open My Spots and select a group to view its details.
- Tap a lettered spot that has coordinates to view its latitude and longitude. Unset slots cannot be selected.
- Use the coordinate copy or Google Maps option if needed.
- Check the group, then load it. Before deleting a group, check the selected record and read the confirmation prompt.
Check the result: After loading, check the spots shown on the map.
Note: If the list is empty, save your current spots or import a shared group first.
⠀
3.5 Share and import spot groups
Before you start: Sign in when required by the page. Before sharing, check that the locations are suitable to give to the recipient.
- To share, select a spot group and use the share control in its details to obtain the sharing text.
- To import, open the actions menu at the top right of the list and choose the share-code import option.
- Paste the received code or sharing text and request a preview.
- Check the group name, date and spots in the preview. Change the name if needed.
- Confirm the addition, then check the new group in your list.
Check the result: Sharing provides the content to send to another person; importing adds a new spot group to your own list.
Note: Requesting a preview does not save the group. If the lookup fails, check the sharing text and try again.
⠀
3.6 Move spots and refresh
- Enable spot dragging in map settings.
- Check the letter of the intended spot, then drag that spot to adjust its position.
- Disable spot dragging when finished to avoid accidental movement.
- Use refresh when you need to read the device spots again, then check the map.
Check the result: The map shows the adjusted spots or the spots read back from the device.
Note: Refresh reads device spots again and clears map planning. It is not a stop command for the boat.
⠀
4. Boat control
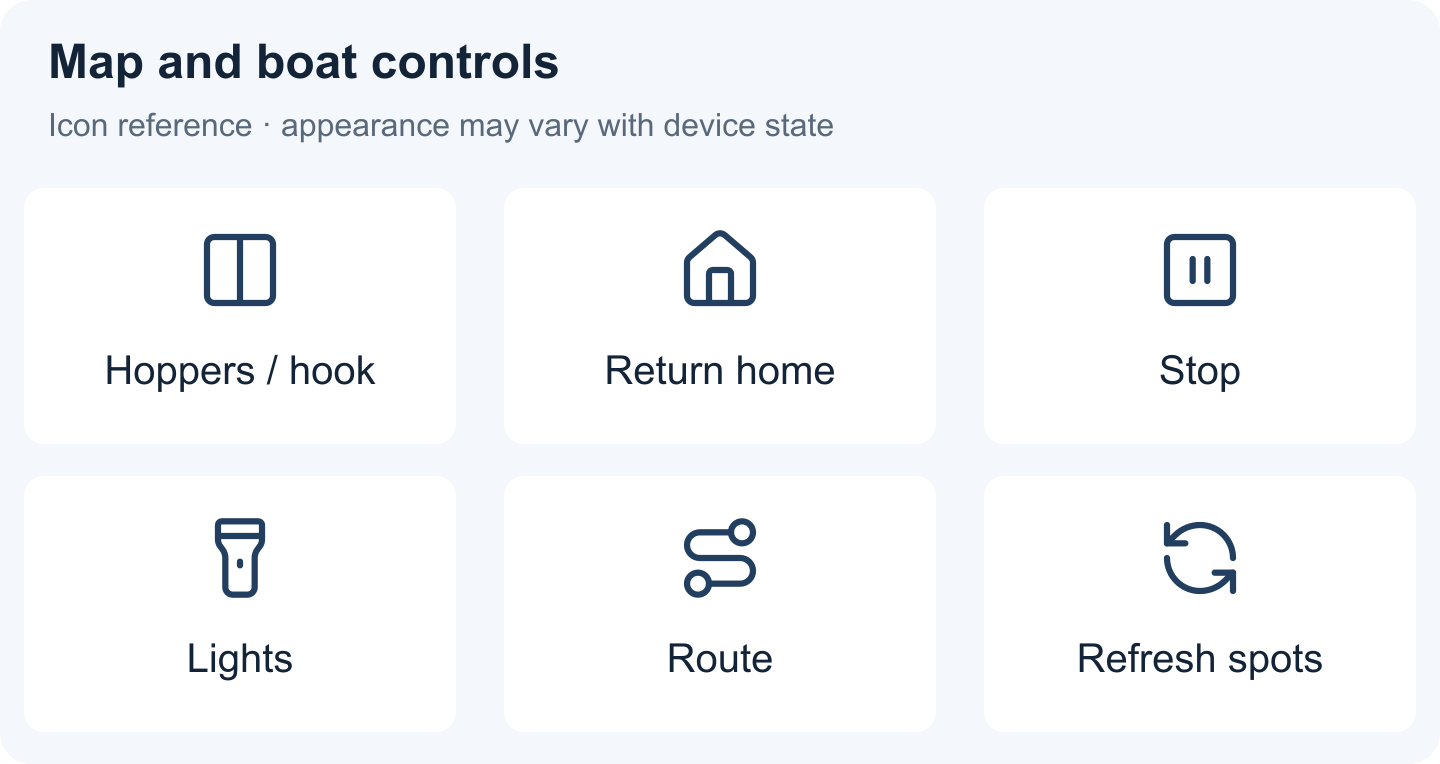
Map and boat controls — reference icons from Pro App. Colours and availability may change with device state.
⠀
4.1 Use the Boat Mini joystick
Before you start: Connect Boat Mini by Wi-Fi with its control mode set to PHONE. Check that the boat and surrounding area are suitable for operation.
- Locate the joystick on the map screen.
- Drag it to send directional control values. The distance from the centre affects the value sent.
- Release it normally to return the joystick to the centre and send a neutral command.
- To reposition the whole panel, hold the joystick for about 0.45 seconds, then drag after position-move mode begins. Release to save its position.
- To stop, briefly tap the joystick centre or use the map Stop control. Observe the boat response.
Check the result: Judge the control outcome from the actual movement and device feedback.
Note: Moving the panel does not send directional commands. Returning to centre is different from sending the separate stop command; a centred joystick does not prove that the boat has stopped.
⠀
4.2 Go to a spot, return home and stop
Before you start: Connect a boat that supports the required operation. Check positioning, the destination coordinates and the home point.
- Long-press the map or tap an existing lettered spot to open the spot panel.
- Select a slot that already has coordinates and is supported for navigation by the device. Mark a new position first if needed.
- Check the stored coordinates, then use the autopilot control to navigate to that spot.
- To return home, close the spot panel and use the home control in the map tools.
- To interrupt navigation, use Stop and observe the device response.
Check the result: Confirm the outcome using the actual boat position, movement and device state.
Note: Navigation uses the saved coordinates of the slot, not the position you just long-pressed. Go to spot, return home and stop are separate operations.
⠀
4.3 Plan a Route and navigate
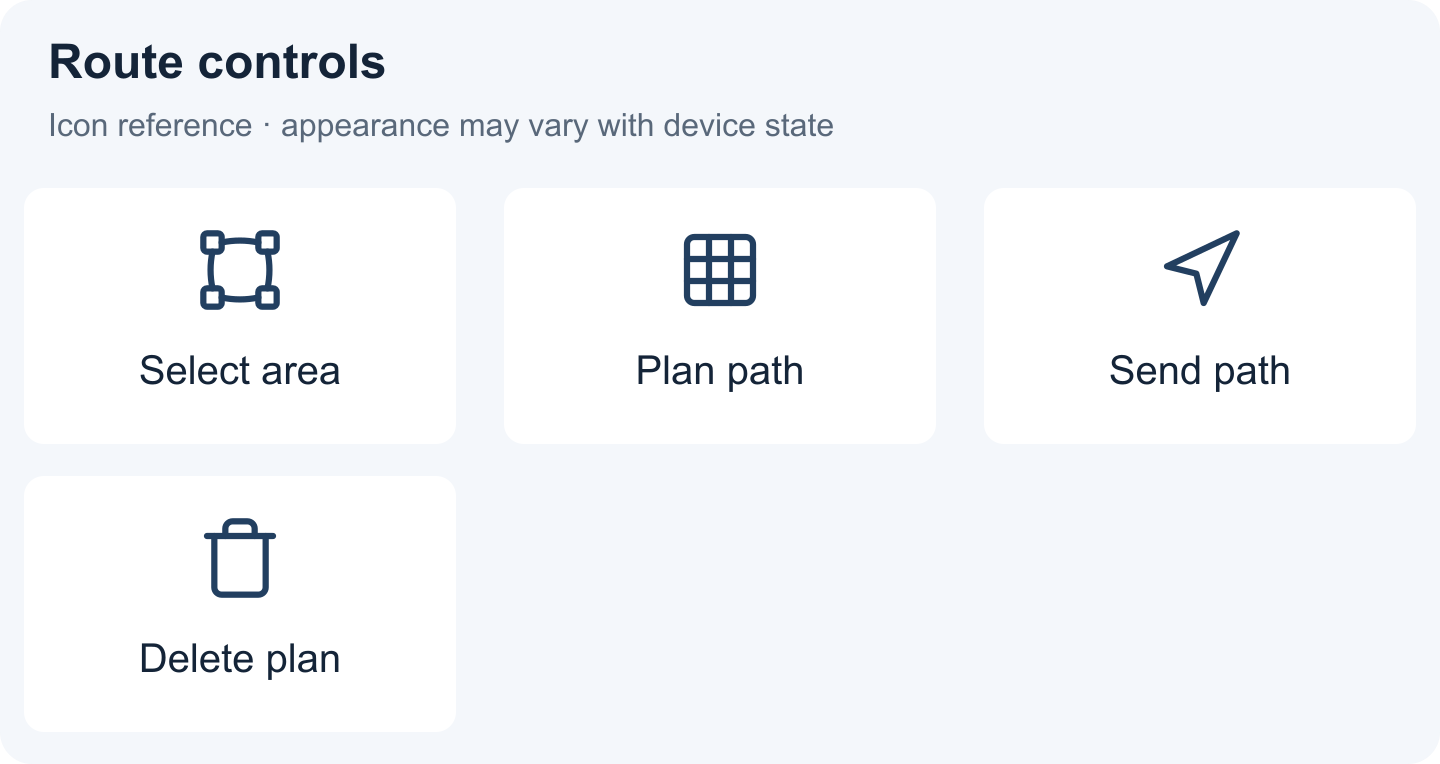
Route controls — reference icons from Pro App. Colours and availability may change with device state.
Before you start: Check the area on the map. Connect a compatible device before sending a route.
- Open the Route menu. Drag its top handle if you need to move the menu.
- Draw a planning area and adjust its boundaries using the map controls.
- Generate a route within the area, inspect it and drag route points to adjust it as needed.
- Check the device, area and path before sending the route. Watch the transfer progress. On Boat Mini, sending the route starts cruising.
- Use Stop to interrupt navigation. Use delete only when you want to clear the map plan.
Check the result: A planned path appears on the map. Confirm transfer and navigation from progress messages and device feedback.
Note: Drawing a new area clears the previous plan. Deleting a route clears the map plan and closes its menu; it does not stop a moving boat.
⠀
4.4 Operate hoppers, hook and lights
Before you start: Connect a boat that supports the controls and check the intended release component.
- Tap the hopper control in the map tools to open the selection panel.
- Identify hopper 1, hopper 2 or the hook, then operate the required component.
- Observe the device to confirm the release.
- Use the light control to change the boat lighting and check the response.
Check the result: Confirm the outcome from the actual hopper, hook or light state.
Note: Opening the panel does not release anything. If a control is unavailable, check the connection and device capabilities.
⠀
4.5 Set up the Boat Mini LED strip
Before you start: Connect Boat Mini and open its LED strip settings.
- Tap a strip region on the boat diagram and check that the intended region is highlighted.
- Select a region or individual LED to change its colour. The number of LEDs in each region is fixed.
- Choose a steady or turning-flash mode, check the target region and apply the configuration.
- Observe the lights. Use refresh to read the device state again.
- Use clear only when you intend to clear the LED configuration, and follow the page prompts.
Check the result: Check the actual lights and the state read back from the device.
Note: This page does not provide controls to increase or decrease the number of LEDs.
⠀
5. Action groups
⠀
5.1 Create and edit action groups
- Open Action Group and create a group with a name. To change an existing group, select it and open its edit view.
- Choose commands such as go to spot, hopper, light or wait from the command library. On a phone, use the add-action control to open the library.
- Check the parameters shown in each command. Reorder steps with the drag handle or up/down controls. Commands run from top to bottom; a group can contain up to 30 steps.
- Check the name, parameters and order before saving. Use the available undo control if you accidentally remove a step while editing.
Check the result: The saved group appears in the list with the intended command sequence.
Note: Saving does not run the group. Check the device and destination spots before execution.
⠀
5.2 Manage, bind and run action groups
Before you start: Have a saved group. Connect a compatible device before binding or running it, and check the spots and components used by its commands.
- Select a group and review its command sequence.
- Edit it if needed. Before deleting, check the selected group and read the confirmation prompt.
- To bind it, use the bind control, check the device and A–D slot, then confirm.
- To run it, use the play control to send and execute the selected group. Observe the device response.
Check the result: Confirm binding or execution from the page messages and actual device state.
Note: Binding here assigns an action group to a device slot; it is not account binding. Play executes real commands.
⠀
5.3 Sync action groups to the cloud
Before you start: Sign in to the intended account and use a working internet connection.
- Open the actions menu at the top right of the action-group list.
- Start cloud sync and wait for its result.
- Check the list afterwards. If a conflict is shown, open its resolution panel, compare the local and cloud contents, then choose the appropriate available option.
Check the result: The page reports the sync result and the list reflects the outcome.
Note: Review conflicting contents before choosing how to resolve them so that you do not overwrite changes you need.
⠀
5.4 Share an action group
Before you start: Sign in when required and prepare the group you want to share.
- Select the group and open its details.
- Check the name, command parameters and execution order.
- Use the share control to obtain the code or sharing text, then provide it to the recipient.
Check the result: The page provides sharing content for the selected group.
Note: The share code represents a snapshot of the group at that time. Later edits do not change an existing shared snapshot; share again when an updated copy is needed.
⠀
5.5 Import an action group by code
Before you start: Sign in when required and have the received share code or full sharing text ready.
- Open the shared-import option in the action-group page actions menu. This also works with an empty list.
- Paste the code or full sharing text and check it.
- Start the import and wait for server validation and the import result.
- Open the imported copy in your list and check its command sequence and parameters.
Check the result: A copy of the shared group is available in your own list.
Note: A correctly formatted code is not necessarily valid. Importing does not execute boat commands; check the device and spots before running the group.
⠀
6. Using sonar
⠀
6.1 Read the sonar image and indicators
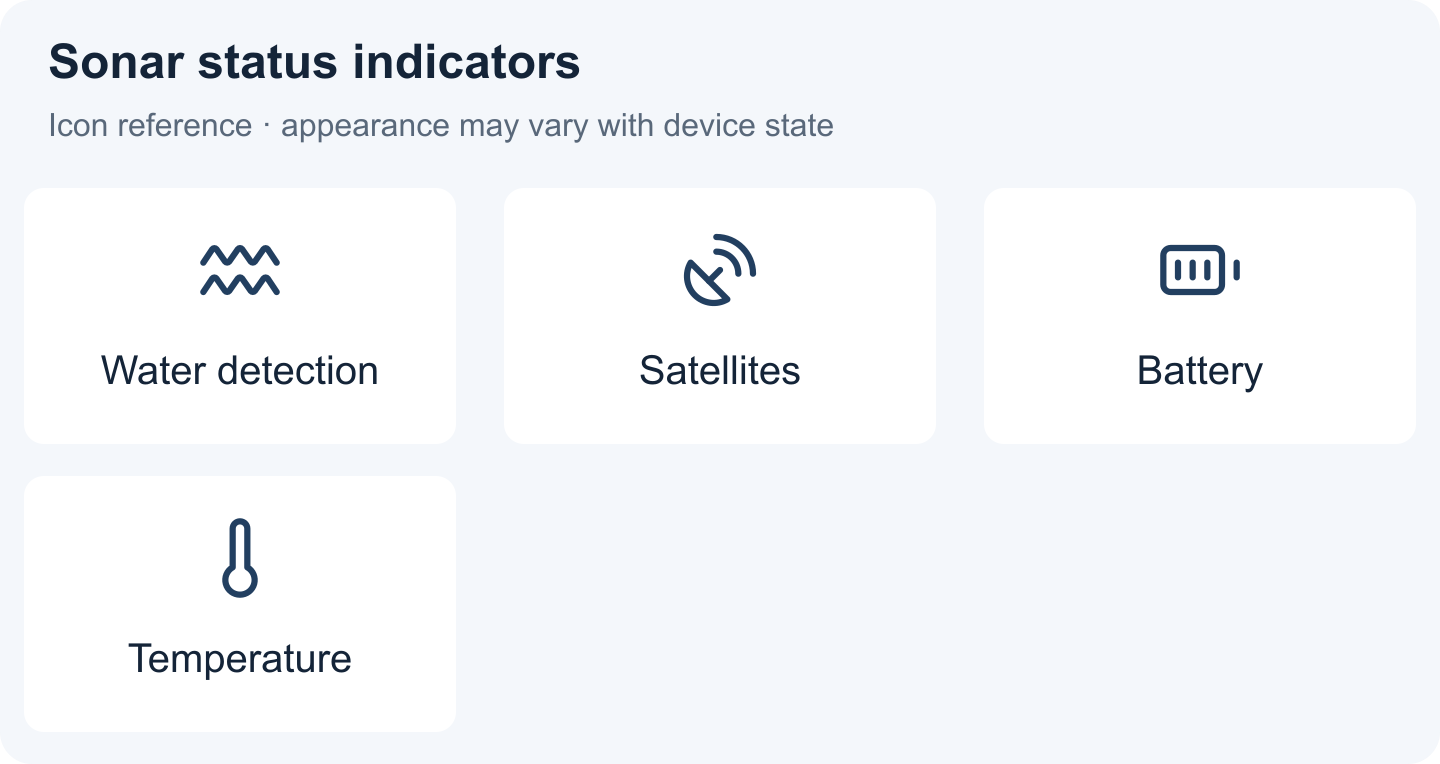
Sonar status indicators — reference icons from Pro App. Colours and availability may change with device state.
Before you start: Connect a sonar with valid live data, or open a record that can be replayed.
- Identify whether you are viewing a live source or a replay, then inspect the echoes on the sonar image.
- Read the large depth value and the unit beside it.
- Check the water-detection indicator and satellite indicator/count for immersion and positioning information.
- Read the battery and temperature indicators. Battery information can be shown as voltage or percentage; temperature is shown in °C.
Check the result: You can distinguish depth, units, water detection, positioning, battery and temperature.
Note: Without valid data, placeholder values are not real depth measurements. Display colours and status indicators are not fish identification results.
⠀
6.2 View history and restore live follow
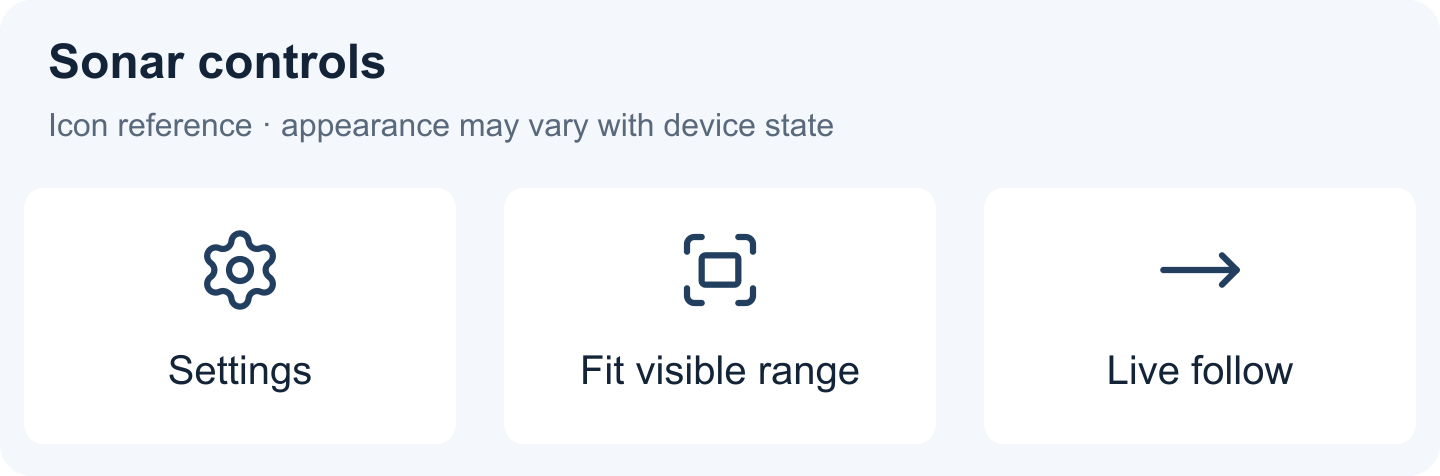
Sonar controls — reference icons from Pro App. Colours and availability may change with device state.
- Drag the sonar image to inspect available history. Use supported zoom gestures to adjust the view and wait while data loads.
- Use the automatic visible-range control when you want to fit the displayed view.
- Tap the arrow control to restore following of the current data.
Check the result: The history position or following behaviour changes as selected.
Note: Visible-range fitting changes the view, not the device probing range. Follow is not a recording switch and does not turn a replay into a new live capture.
⠀
6.3 Set automatic or manual sonar range
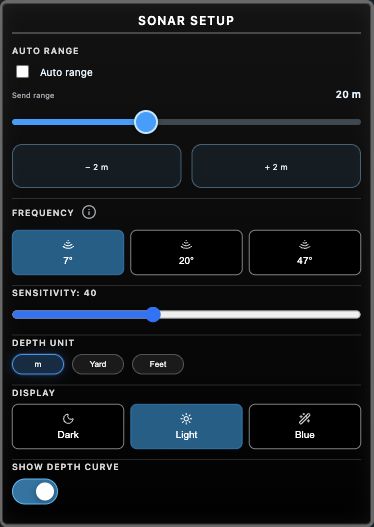
Sonar setup. Example manual-range screen showing the range slider, −2 m / +2 m controls, depth units, display themes and depth-curve switch. Example screen; shown settings are illustrative.
Before you start: Connect a device that supports sonar probing-range control.
- Open settings from the sonar toolbar and locate the automatic-range and range controls.
- With automatic range enabled, the system adjusts the probing range and the manual slider is unavailable.
- For manual adjustment, disable automatic range, then use the slider or ±2 m controls.
- After submitting a change, wait for device feedback and check the state.
Check the result: Confirm the range setting from device feedback.
Note: Available controls depend on the connected device. View zoom and device probing range are separate settings.
⠀
6.4 Choose depth units, theme and depth curve
- Open sonar settings, choose the depth unit and check the unit beside the reading.
- Choose a clear display theme from the available options, including dark, light and deep blue (Mag).
- Enable or disable the depth curve as needed, then check the sonar view.
Check the result: The units, colours and depth-curve display reflect your selections.
Note: Changing a theme changes display colours, not the device frequency.
⠀
6.5 Set water detection sensitivity
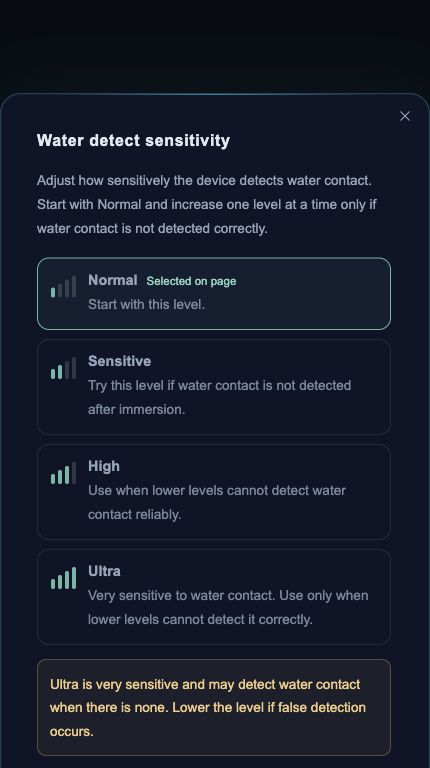
Water detection levels. The in-app explanation of Normal, Sensitive, High and Ultra. Normal is selected in this example. Example screen; shown settings are illustrative.
Before you start: Connect a supported device and select the correct device and sonar module in Device Info.
- Locate the water-sensitivity slider and read the current level and its explanation.
- Start with Normal. Increase the level one step at a time only if water detection is unreliable.
- Move the slider to the required level and release it to send the setting. Keep the existing level if it already works well.
- Check the real in-water and out-of-water states against the displayed indicator. Reduce sensitivity if the device still reports water after removal.
Check the result: The indicated water state agrees with the actual immersion state.
Note: Ultra is more prone to false triggering. Boat Mini supports this setting when connected; standalone-sonar availability depends on its recognised hardware and main firmware. Follow the reason shown in Device Info if the control is unavailable. The acquisition-chip version is separate from the main firmware version.
⠀
7. Records and replay
⠀
7.1 Choose and replay a record
Before you start: Have an available capture record or imported sonar data.
- Open Depth Map Data and select a record to see its details.
- Check its name and state. A cloud-only record may need to be downloaded and prepared; replay becomes available only when the record meets the required conditions.
- Start replay and wait for download, preparation or loading to finish.
- View the selected record in both the map and sonar windows.
Check the result: The selected record loads and can be viewed on the map and sonar display.
Note: Clicking replay does not prove loading succeeded. Follow any actual error message; if the list is empty, you can first import shared data.
⠀
7.2 Import sonar data with a share code
Before you start: Have a valid sonar-data share code and a working internet connection.
- Open the share-code import option in the data page actions menu. You can import even when the record list is empty.
- Enter the code. It must not be empty and must contain only lowercase letters and digits.
- Check the code and confirm the import. Watch the download and preparation progress in the window.
- Wait for completion, then select the imported record from the list to replay it.
Check the result: The imported record is available in the list and can be replayed when ready.
Note: If the code is invalid or expired, check it or ask the sender for a valid code. Passing the input-format check does not mean the server has accepted it.
⠀
8. Account
⠀
8.1 Register an account
- Open the registration page and enter an email address that you can receive messages at.
- Set a password following the page requirements.
- Read the privacy notice and decide whether to agree. Complete the required fields and submit the registration.
- Follow the registration result, then return to the sign-in page when registration succeeds.
Check the result: The page reports the registration result; a successfully registered account can be used to sign in.
Note: Keep your password private and do not share password-recovery emails.
⠀
8.2 Sign in
Before you start: Have a registered account.
- Open the sign-in page and enter your registered email and password.
- Decide whether to use the remember-account option based on whether this is your own device.
- Read the privacy notice, complete the page requirements and sign in.
- Wait for the result and check which account is active.
Check the result: The app shows the signed-in account state.
Note: Before cloud sync or sharing, check that you are using the intended account.
⠀
8.3 Recover a password
- On the sign-in page, enter the email address of the account you want to recover.
- Select the password-recovery link to send the request.
- After a success message, check your inbox and follow the instructions in the recovery email.
Check the result: Use the received email to complete the remaining recovery steps.
Note: The recovery link sends a request using the email already entered on the sign-in page; it does not first open another email-entry form.